The ZITADEL Quick Start Guide
In this guide, you’ll set up a Zitadel account and configure it to work with our pre-built example applications. You can simply clone the repository, follow the console setup, and have a working authentication flow in minutes.
Get Started with ZITADEL Cloud
Set up your ZITADEL account and organization to begin managing identities for your applications.
1. Create your Account and Organization
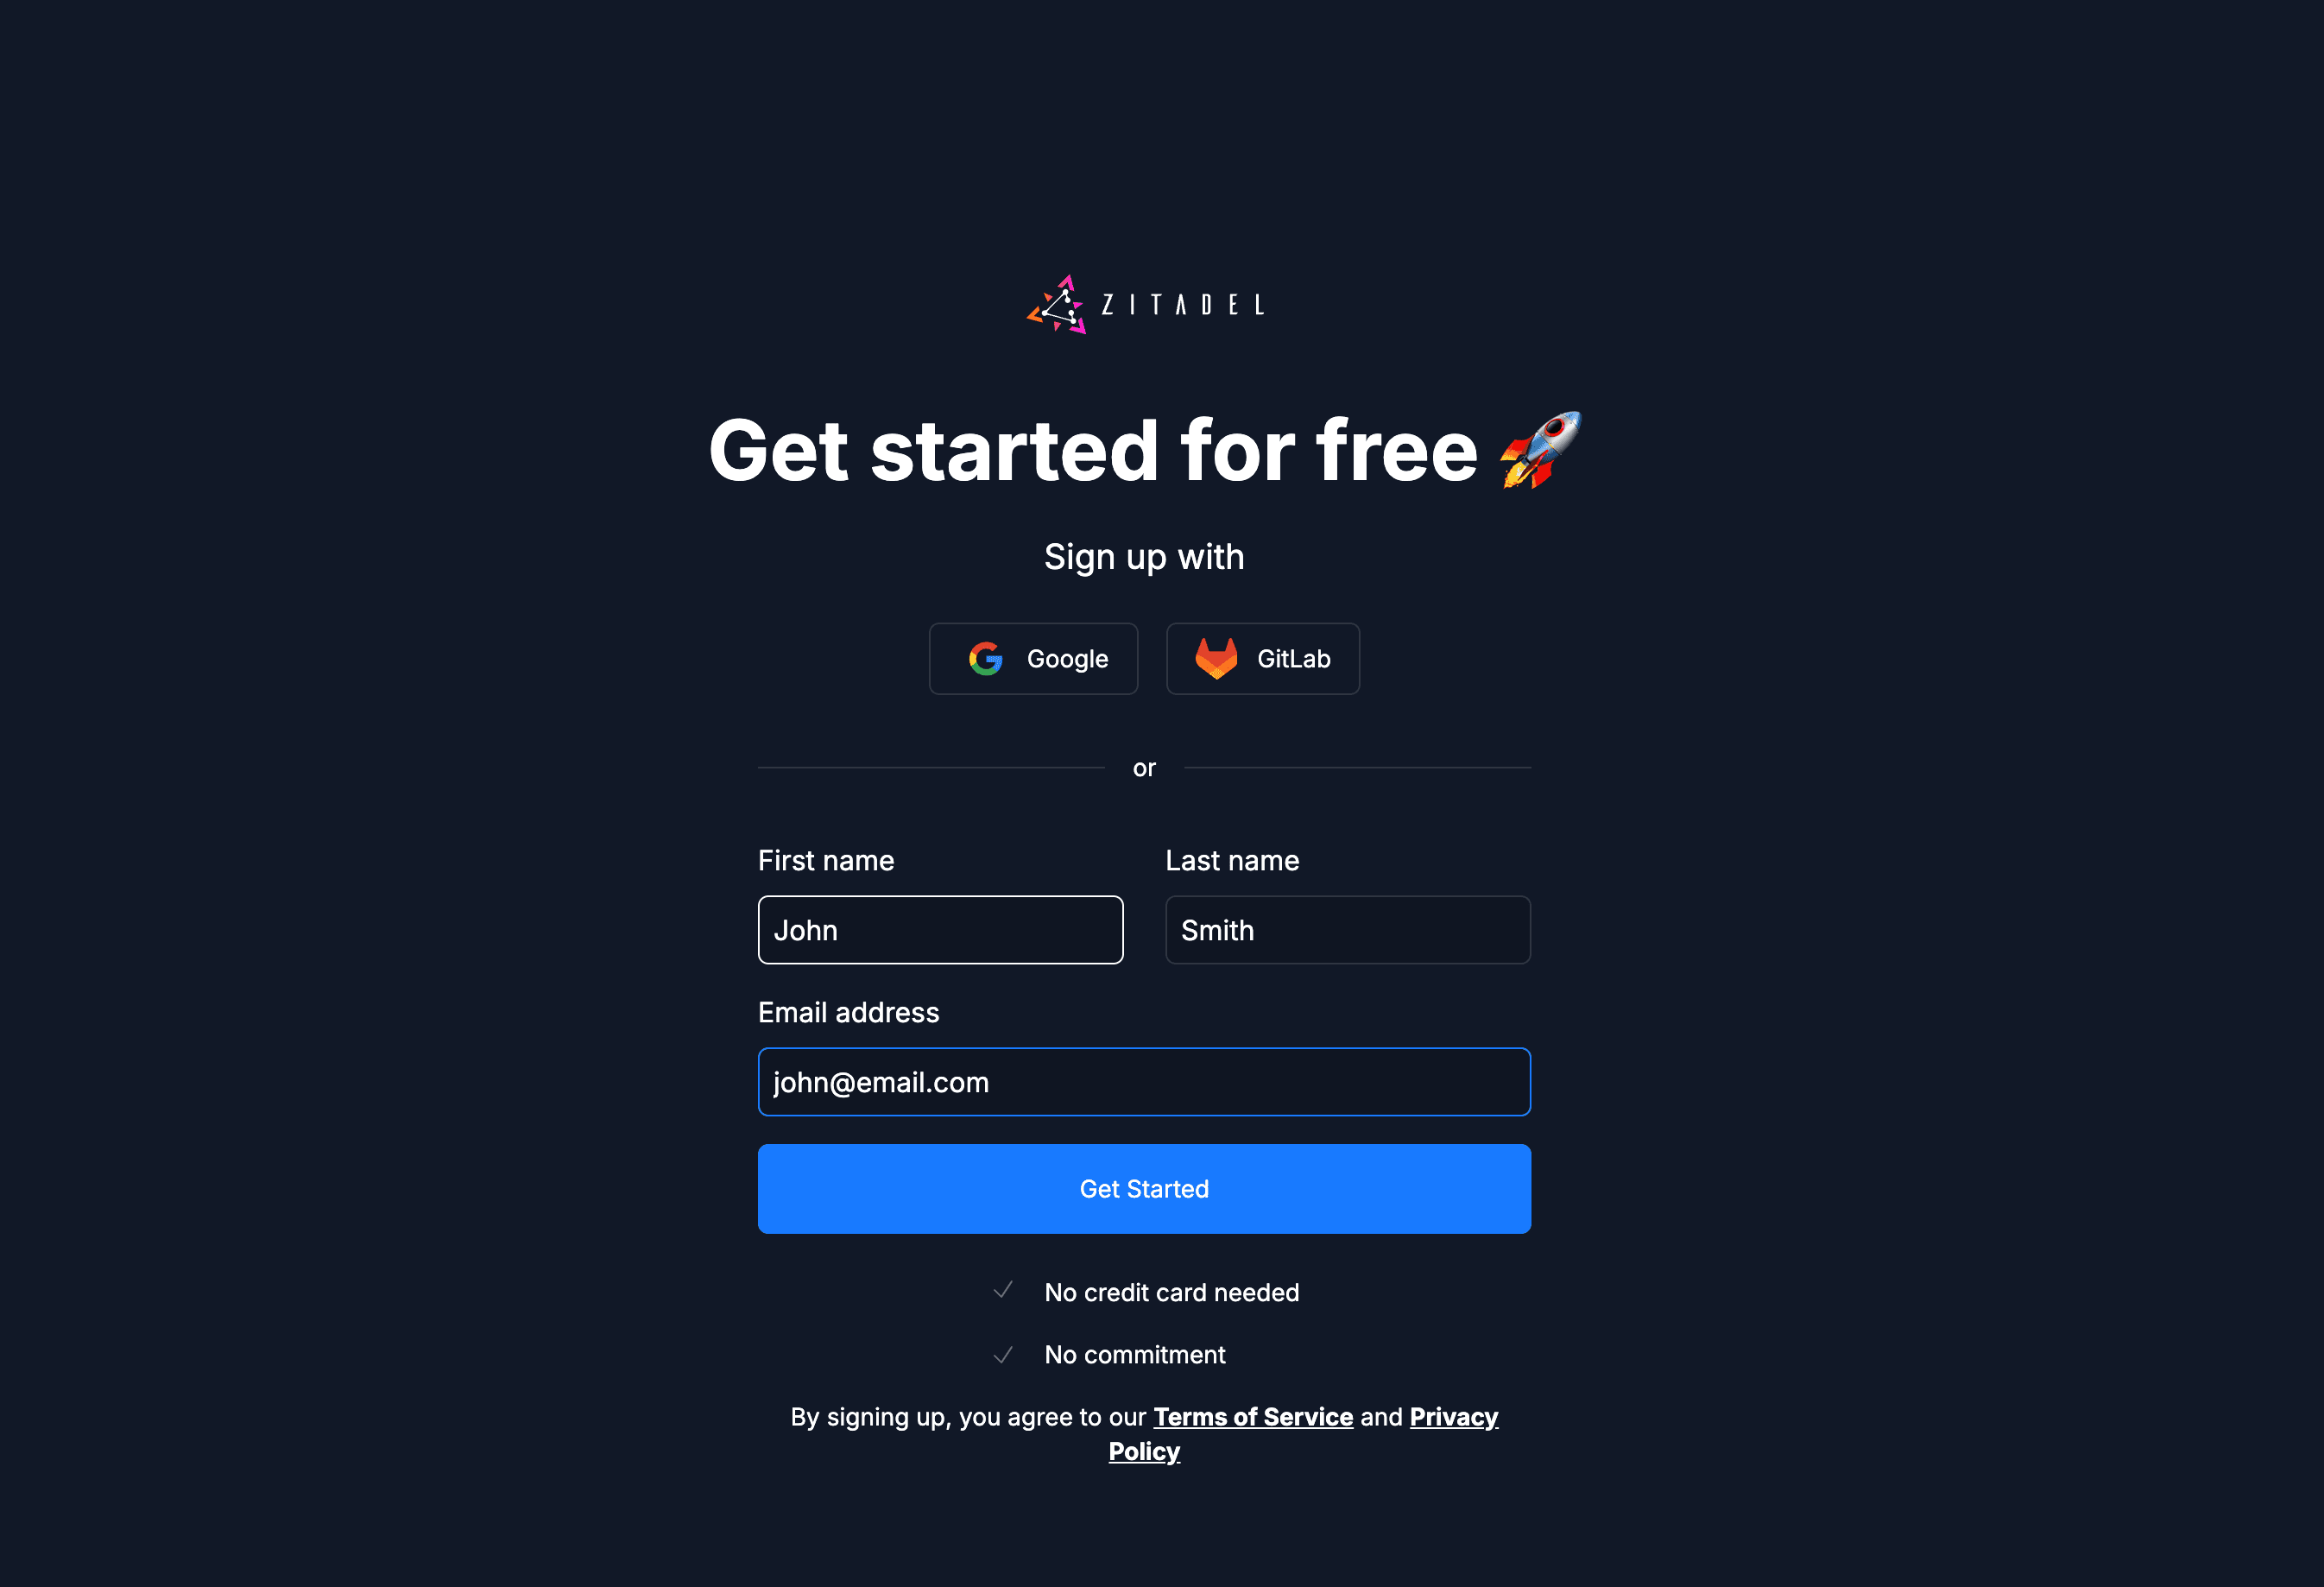
You first need access to the ZITADEL Cloud Customer Portal. This is the administrative hub for managing your billing, teams, and instances.
- Sign Up: Go to zitadel.com and select Sign Up.
- Onboarding: Follow the prompts to verify your email and set up your Portal Team.
- Tip: We recommend using Passkeys for a secure, passwordless login experience.
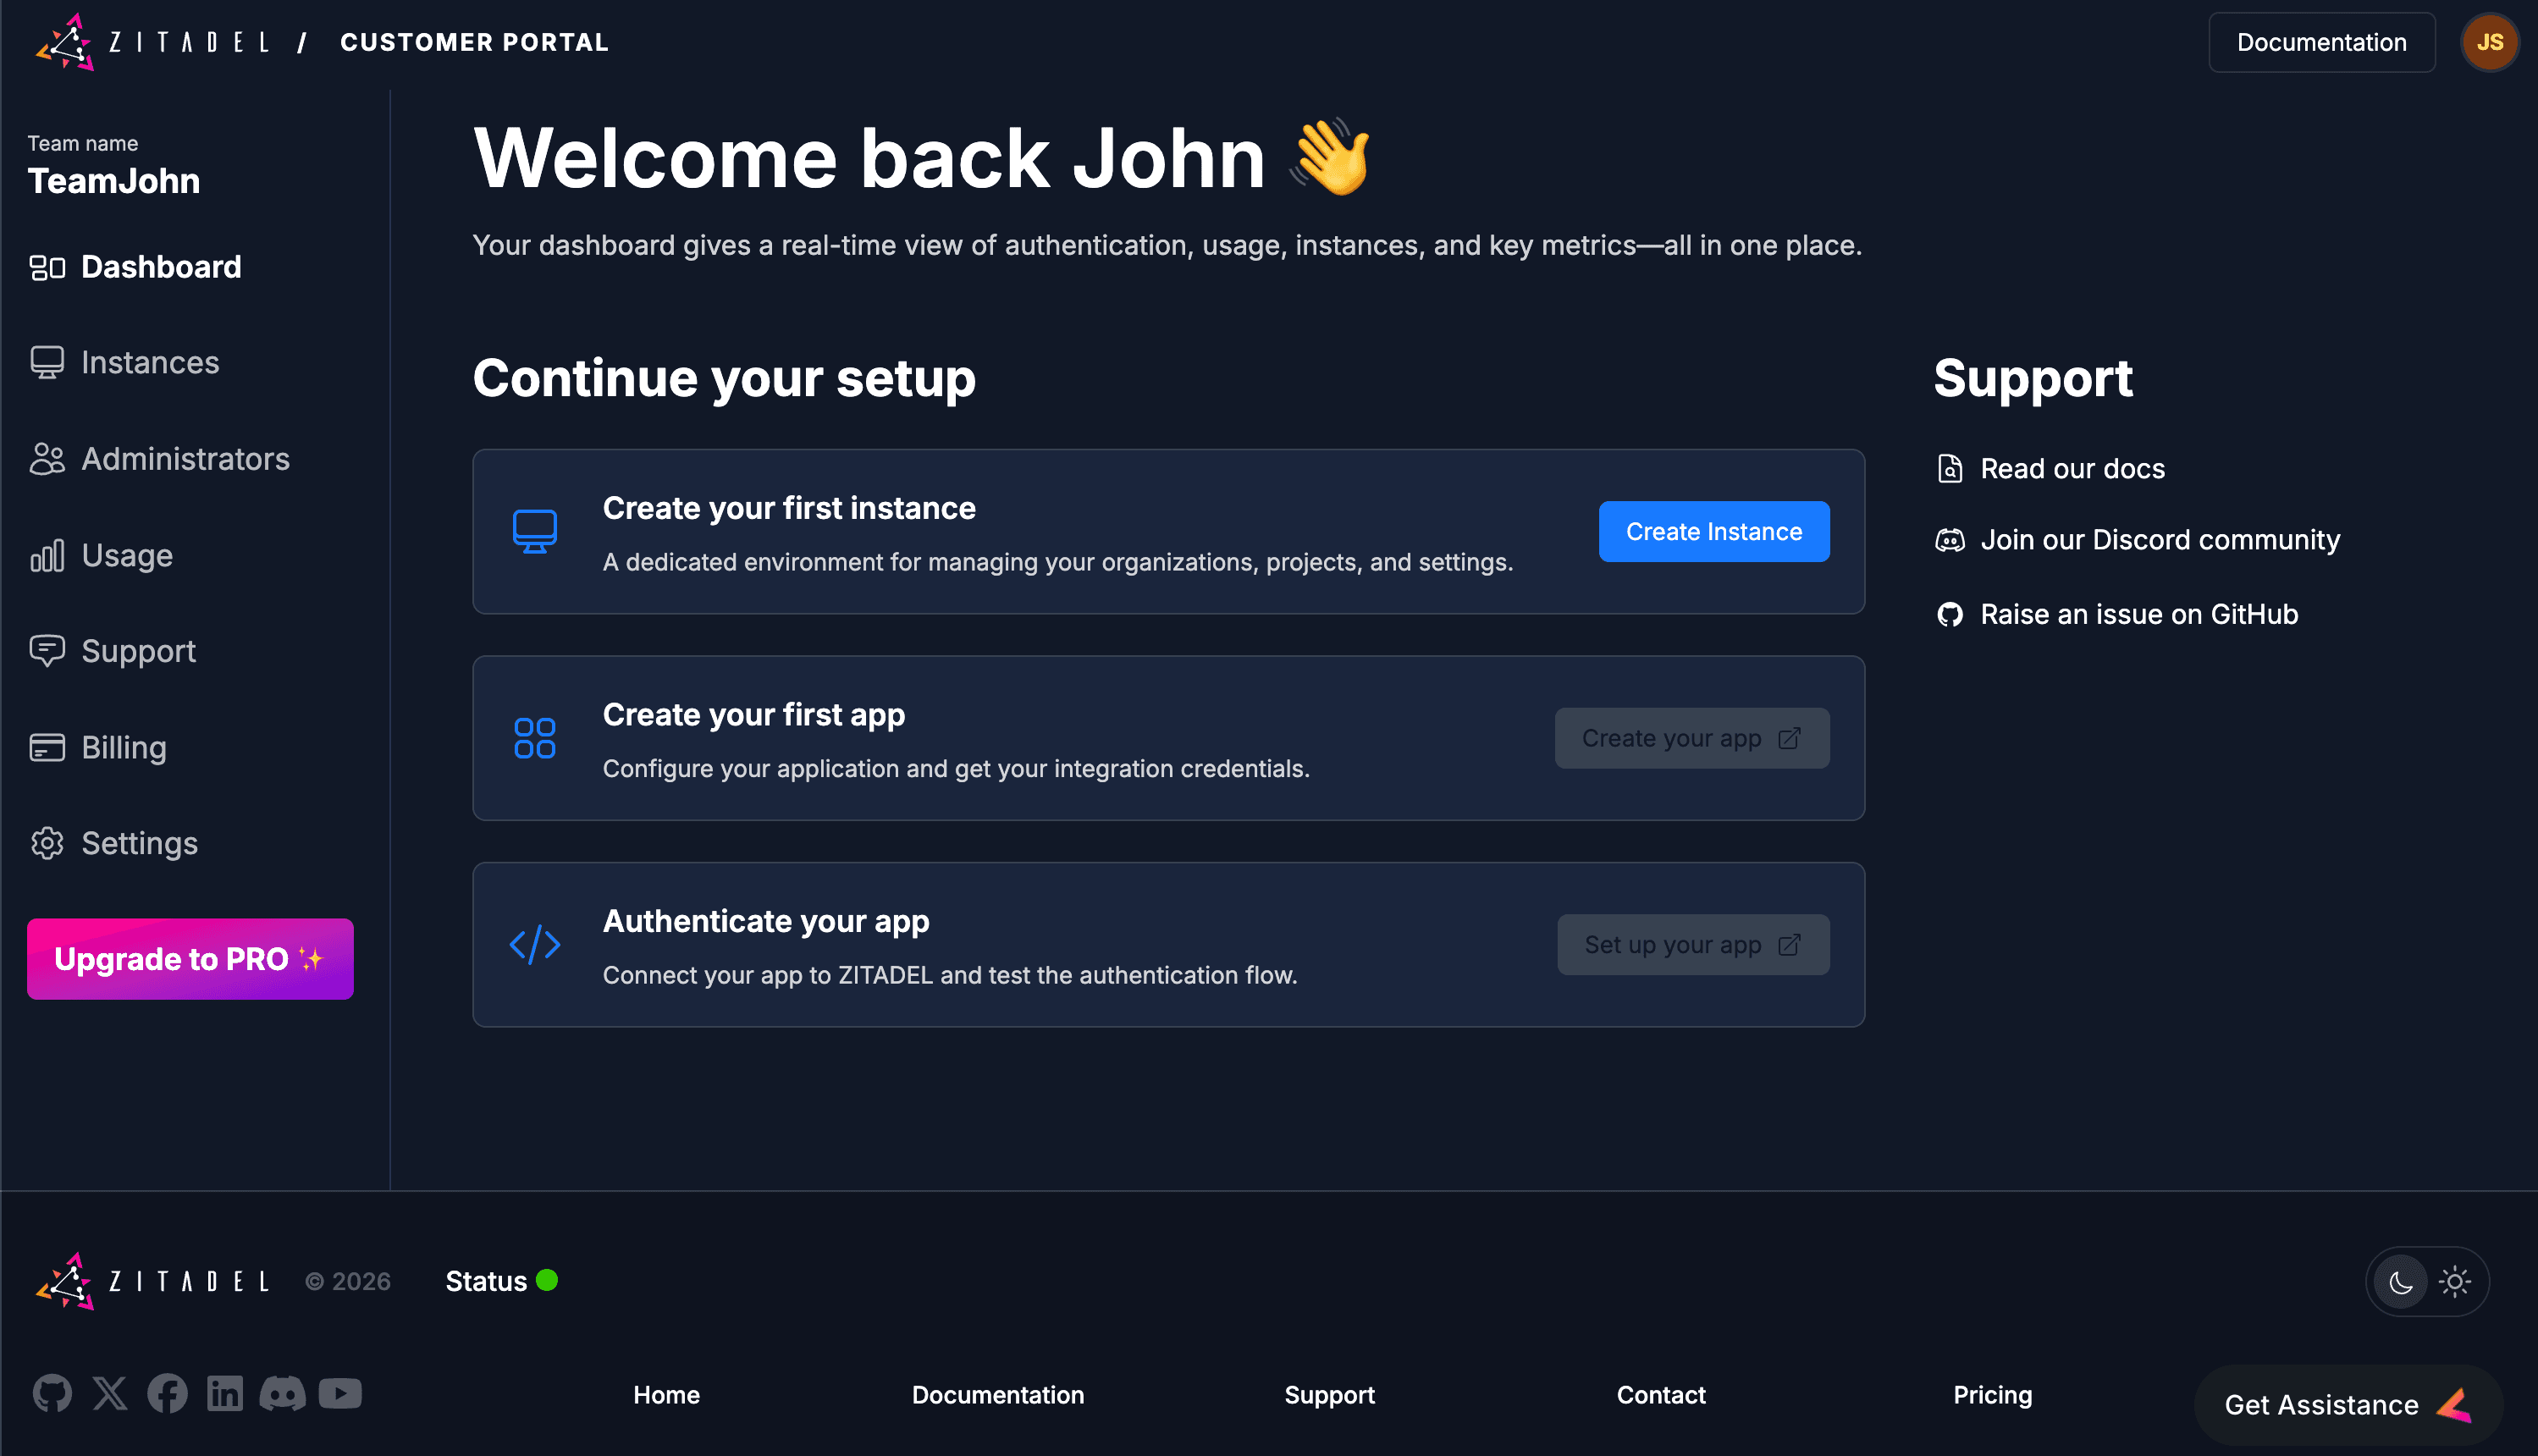
- Access: Once authenticated, you will be redirected to the Customer Portal dashboard.

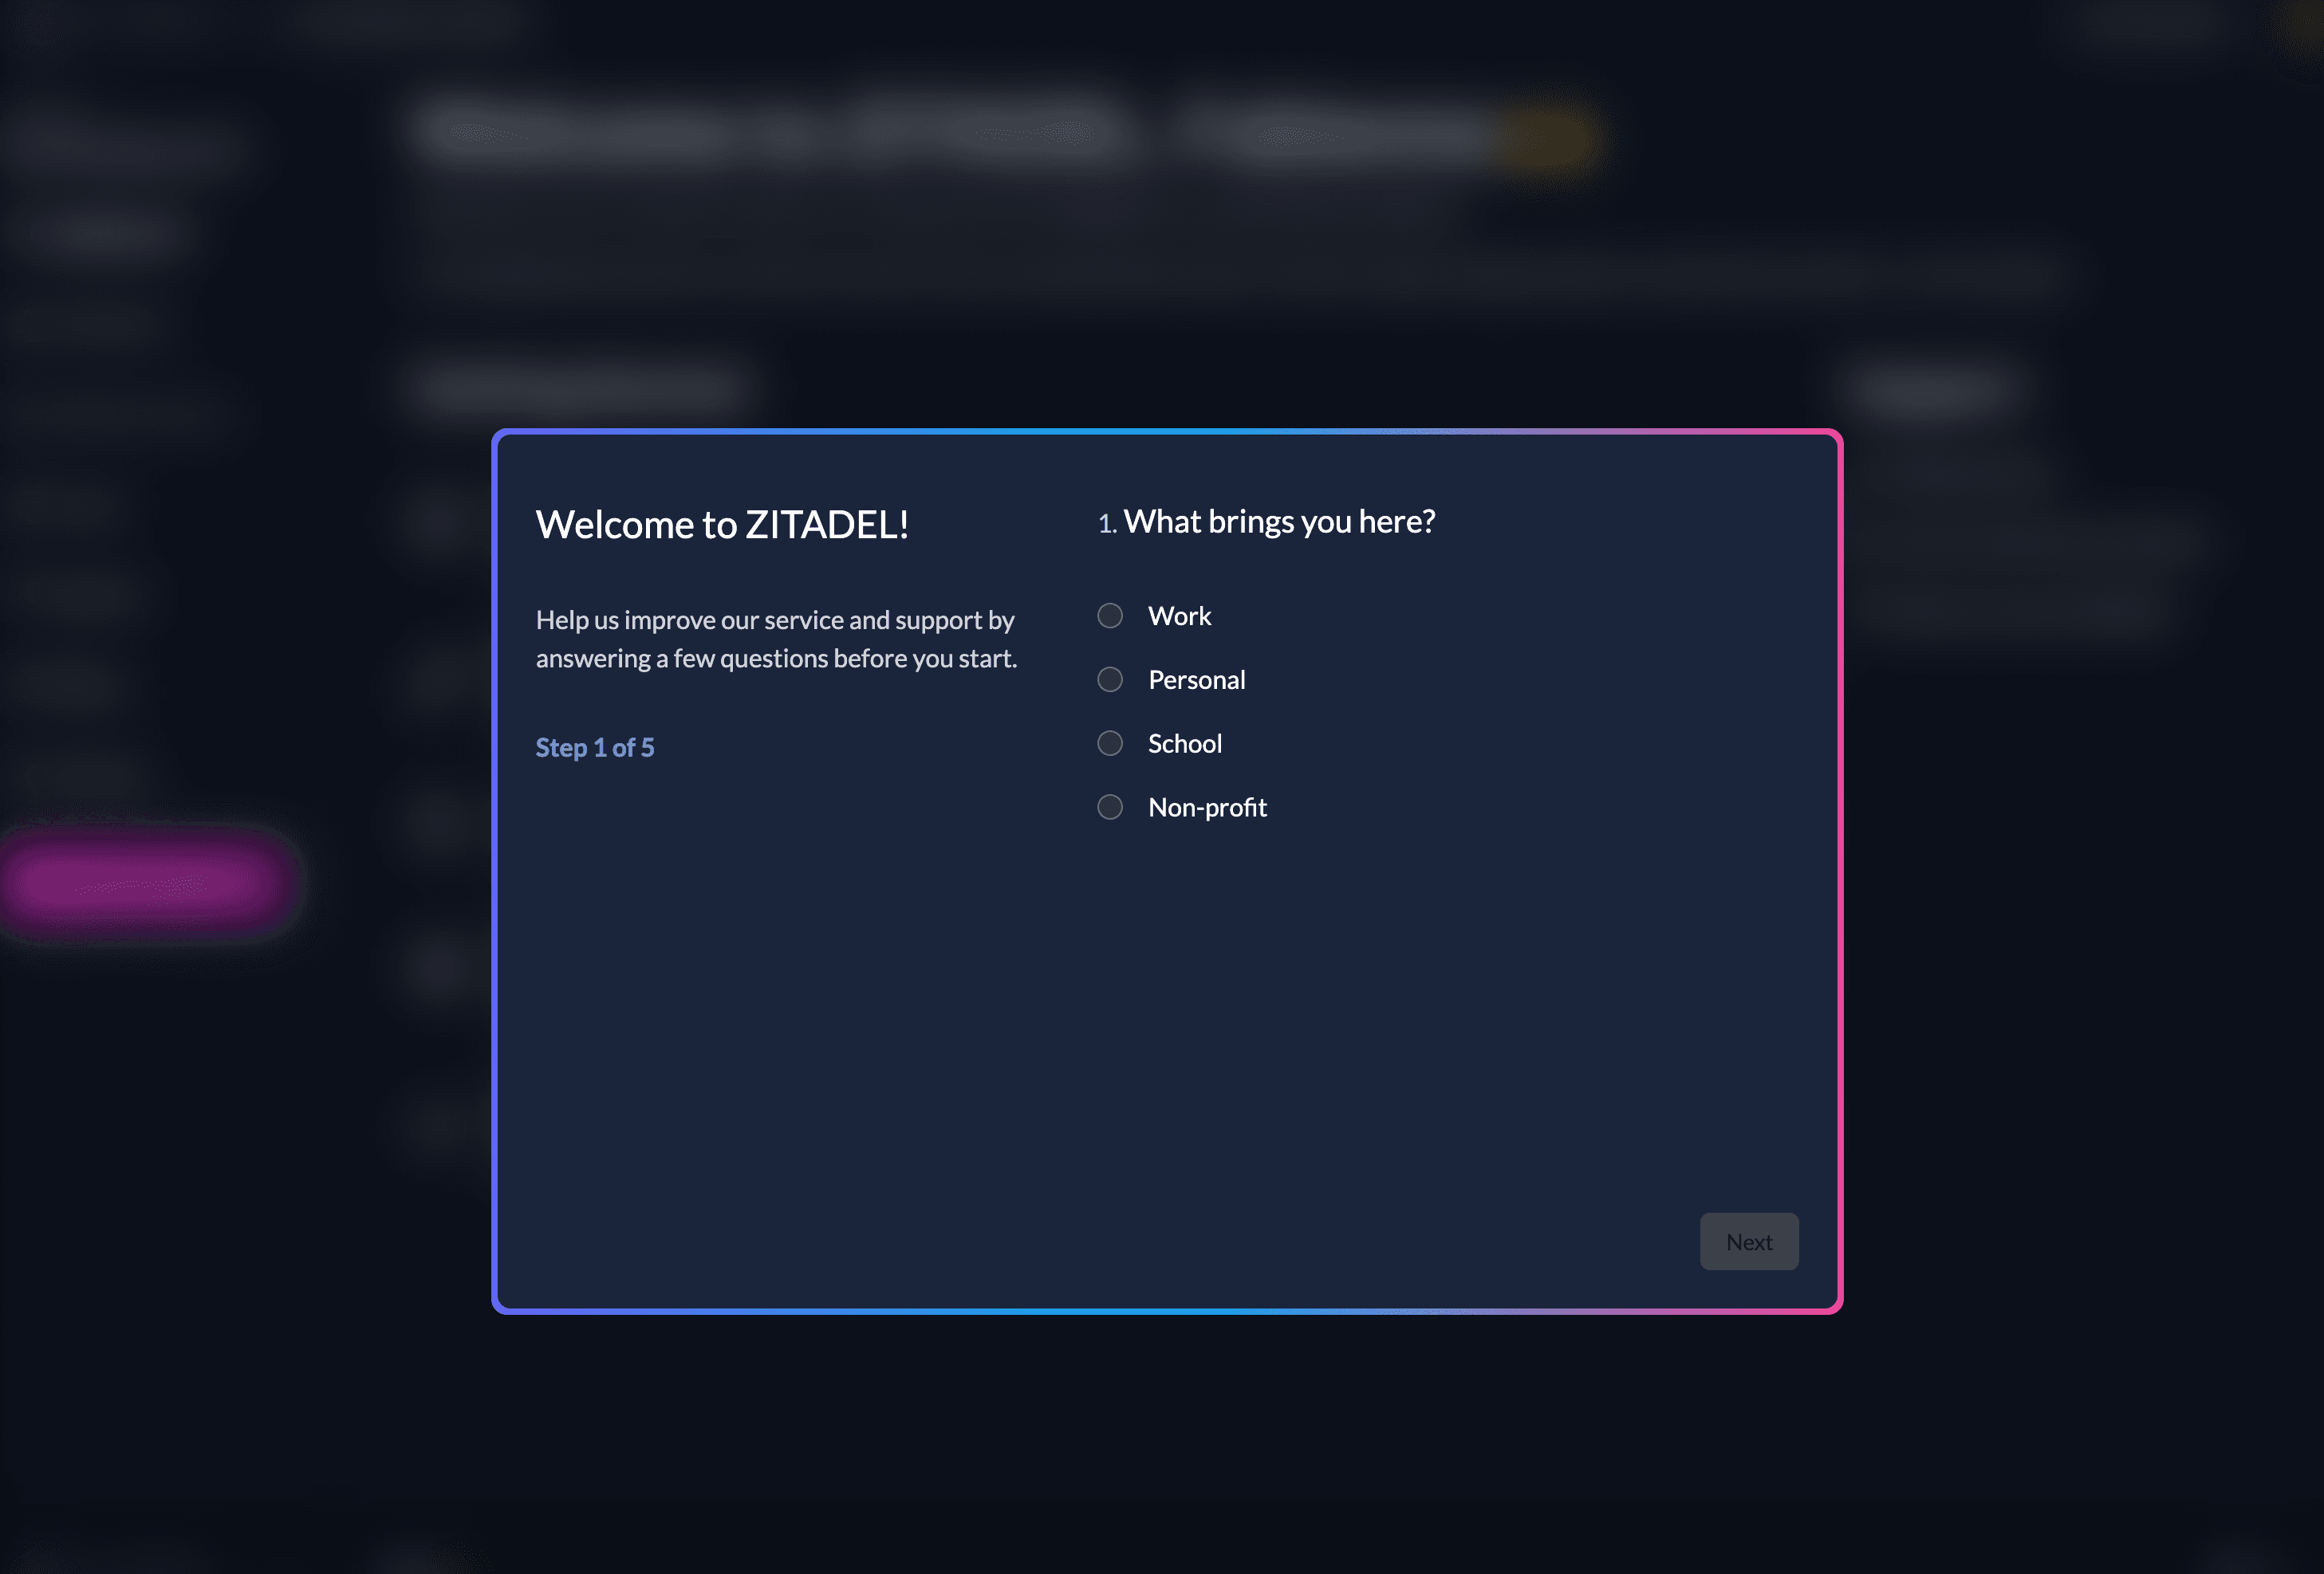
2. Quick Onboarding
Complete the brief onboarding questions.
This data helps us prioritize the development of new features, SDKs, and integrations that matter most to our community.
3. Create your ZITADEL instance
An Instance is a fully isolated identity environment with its own users, policies, and data. Most developers use separate instances to isolate Development, Test, and Production workflows.
Follow these steps to deploy your first instance:
- Start: Click Create Instance on your dashboard.
- Identity: Provide an Instance Name (e.g., dev-environment). This will be used to generate your default domain (e.g., dev-environment-xxxx.zitadel.cloud).
- Locality: Select your Region.
- Note: Choosing a region close to your users minimizes latency and helps with data residency compliance.
- Admin Setup: Create your Instance Administrator. This user has "root" permissions to manage all organizations, policies, and settings within this specific instance.
- Deploy: Review your settings and click Create Instance.
4. Create your Project and Application
In ZITADEL, Applications are grouped into Projects. This allows multiple applications (like a React frontend and a Go backend) to share the same roles and role assignments.
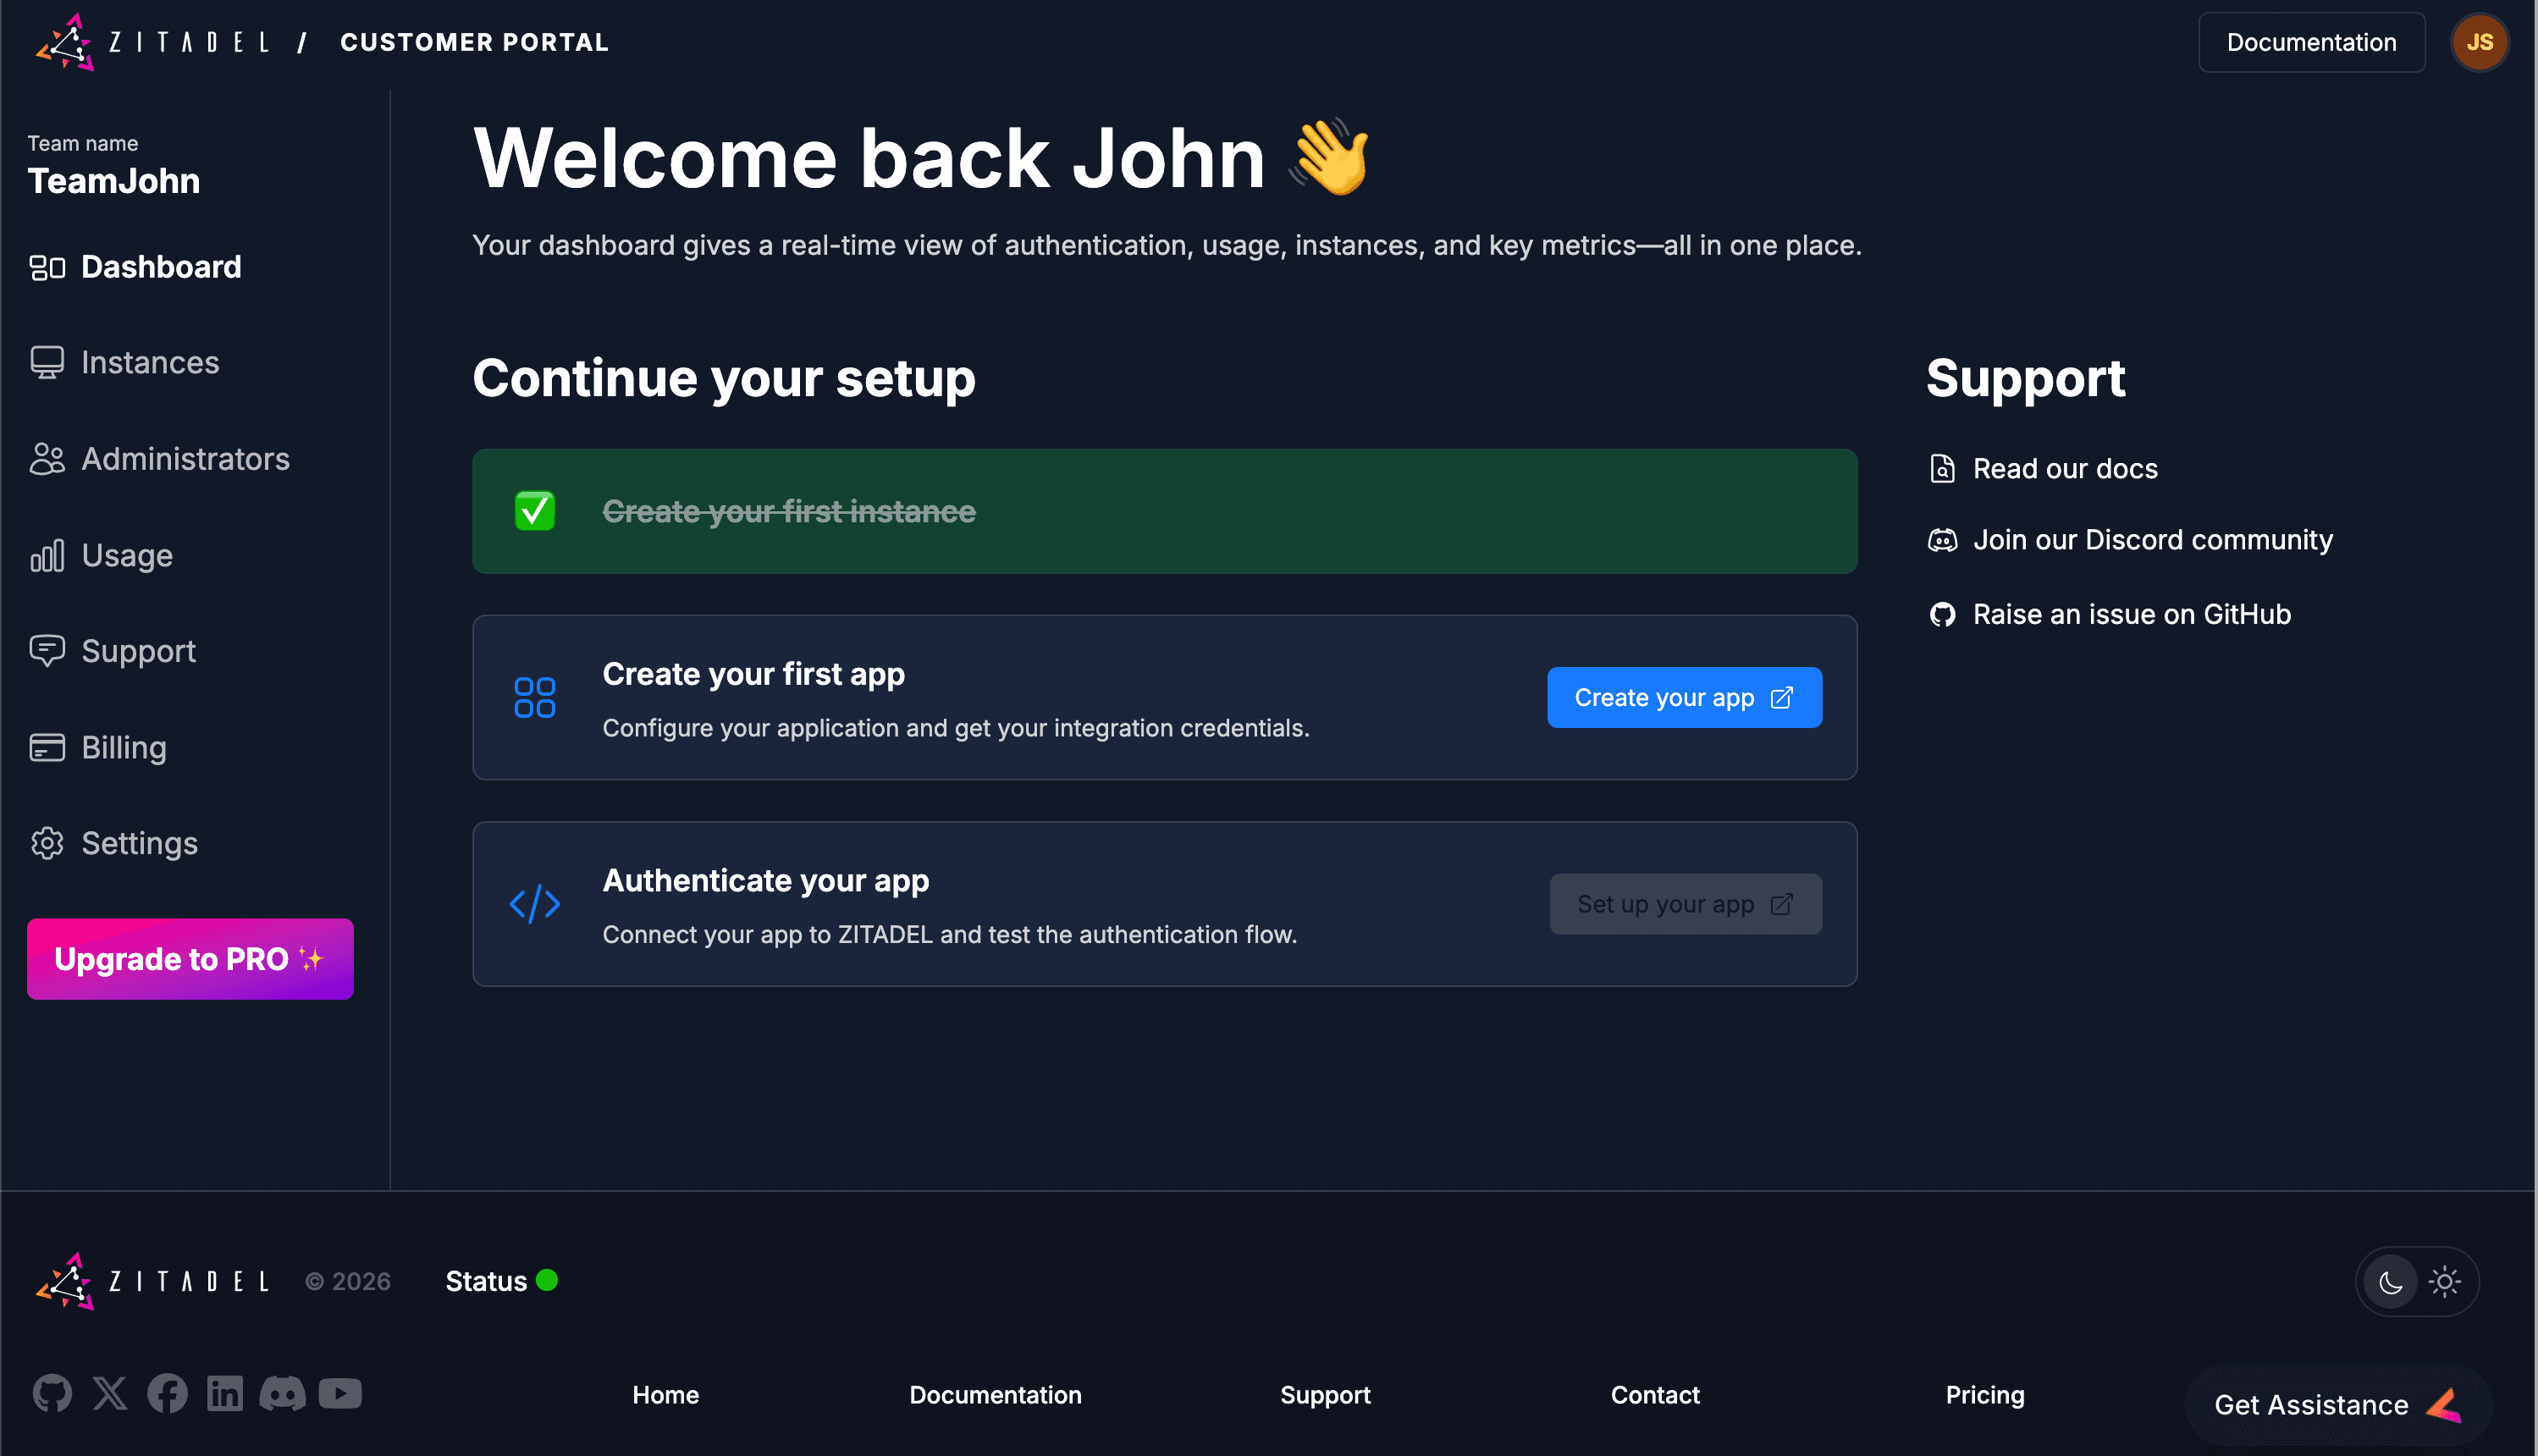
Launch the Management Console
Click Create your app. This opens the Management Console for your instance in a new tab.
Log in using the Admin credentials you just created.
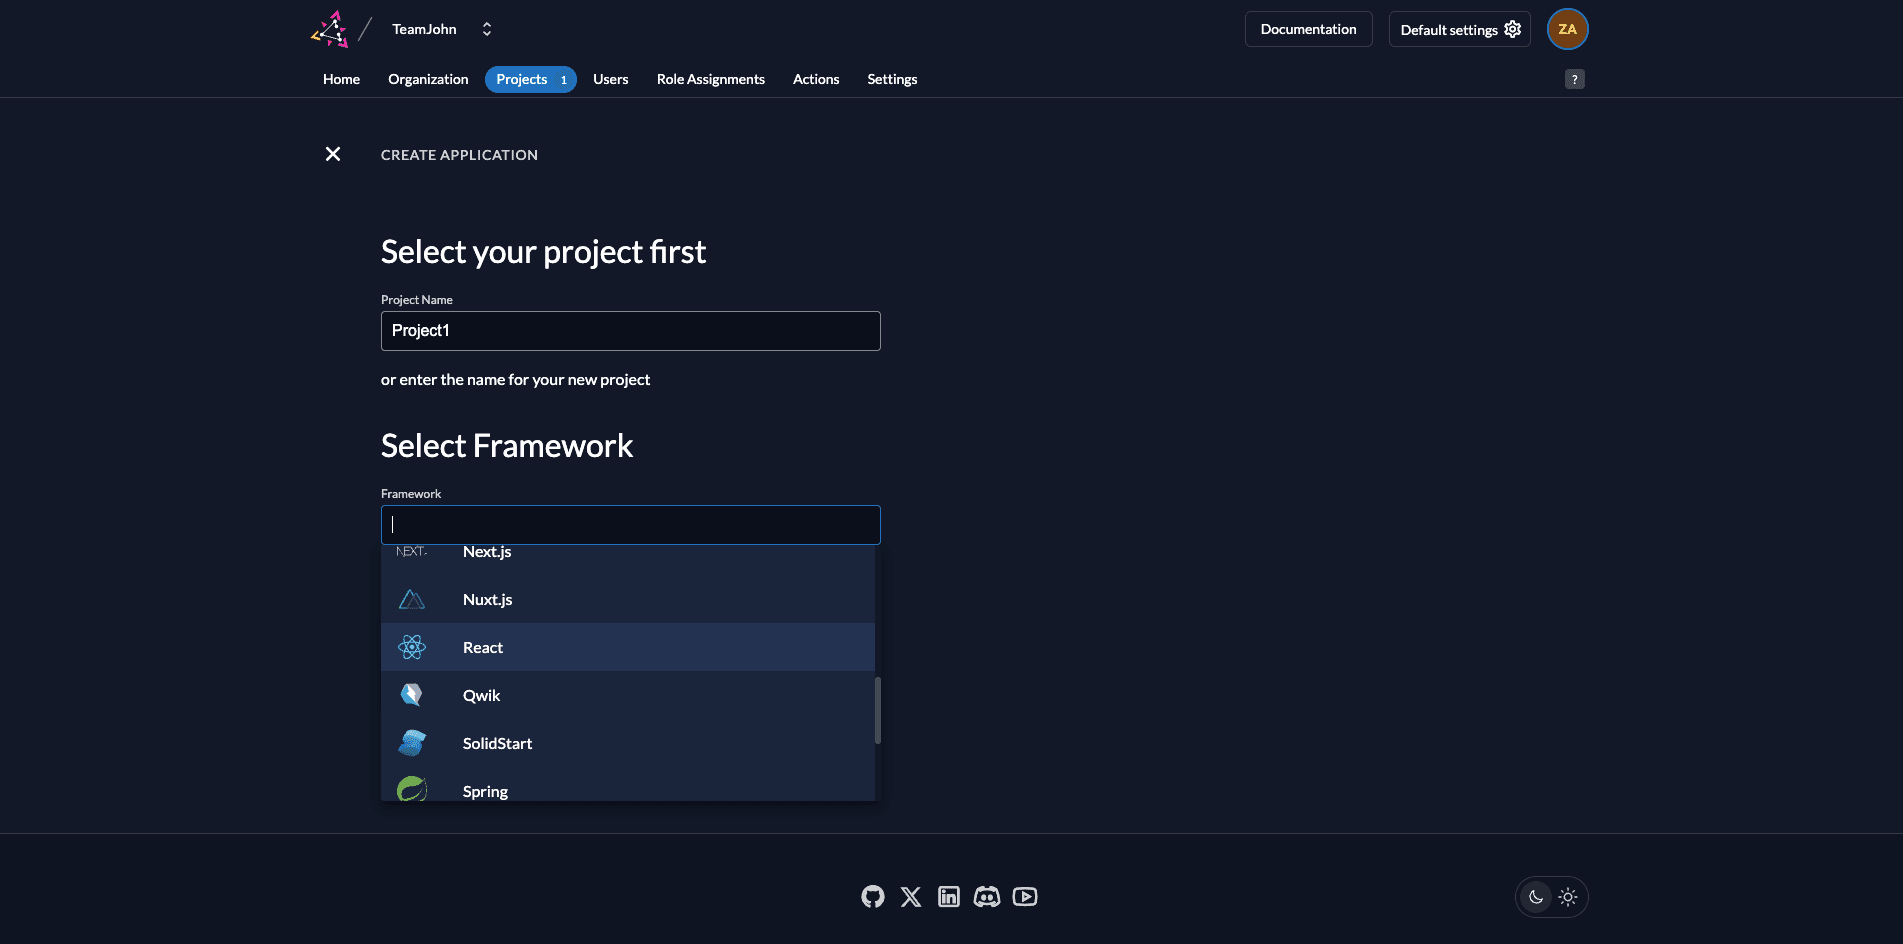
Step 1: Define your Project
- Name: Enter a name (e.g., Project1).
- Framework: Select your preferred framework
- Continue: Click the Continue button.
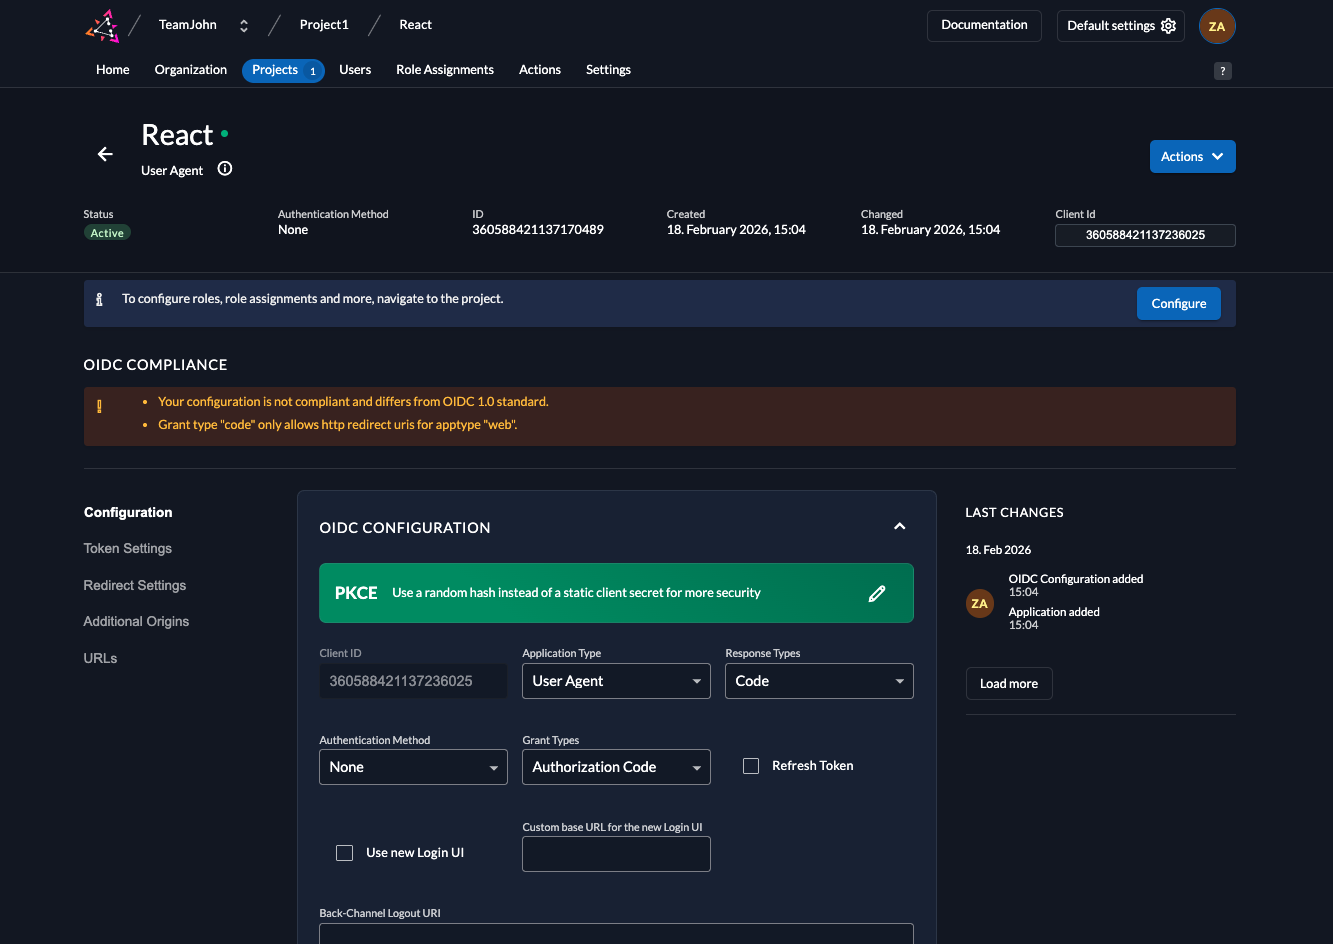
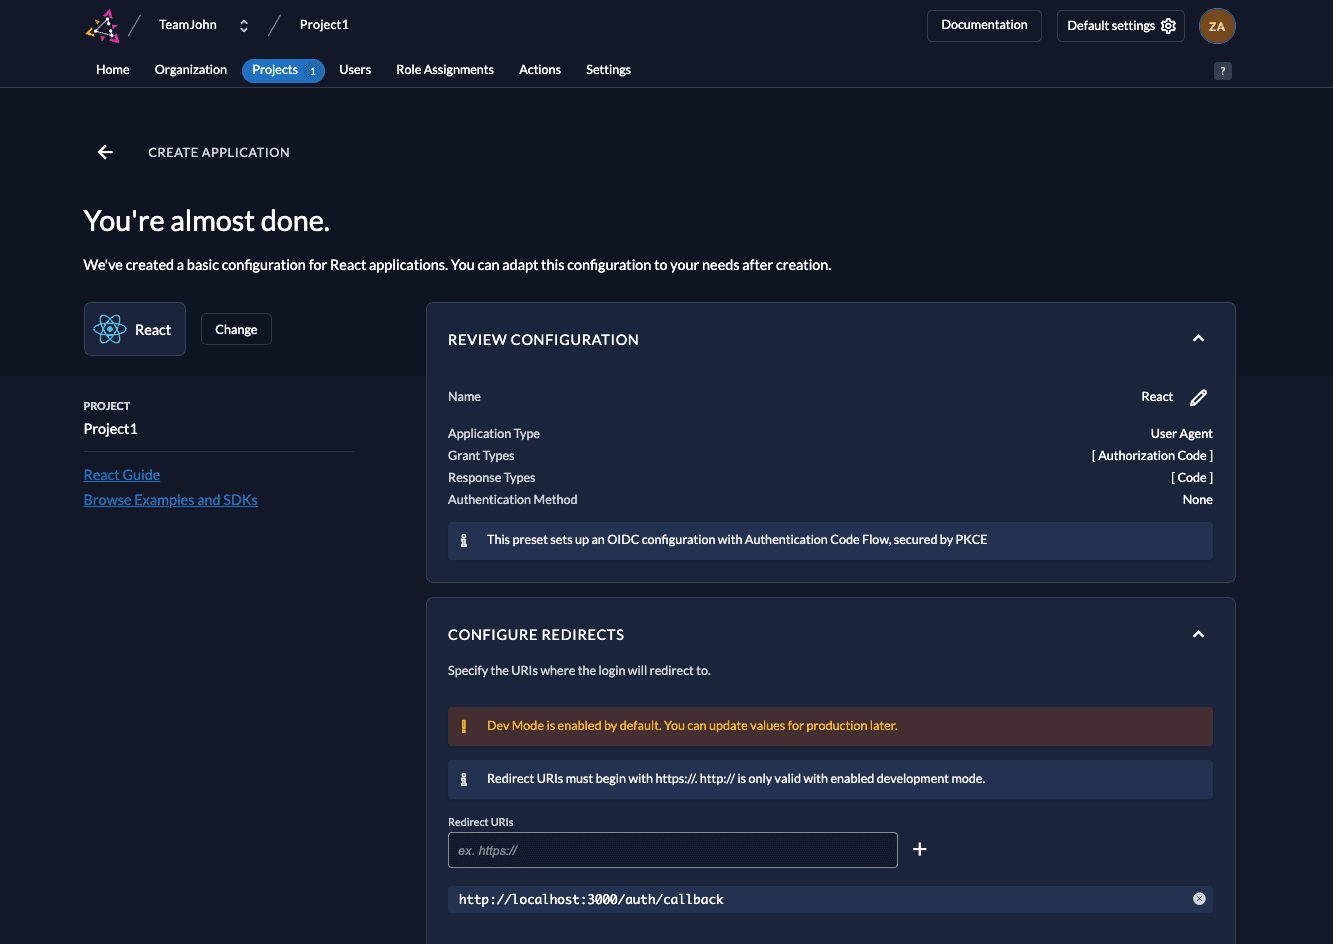
Step 2: Review Default Settings
ZITADEL automatically configures the best security settings for your selected framework.
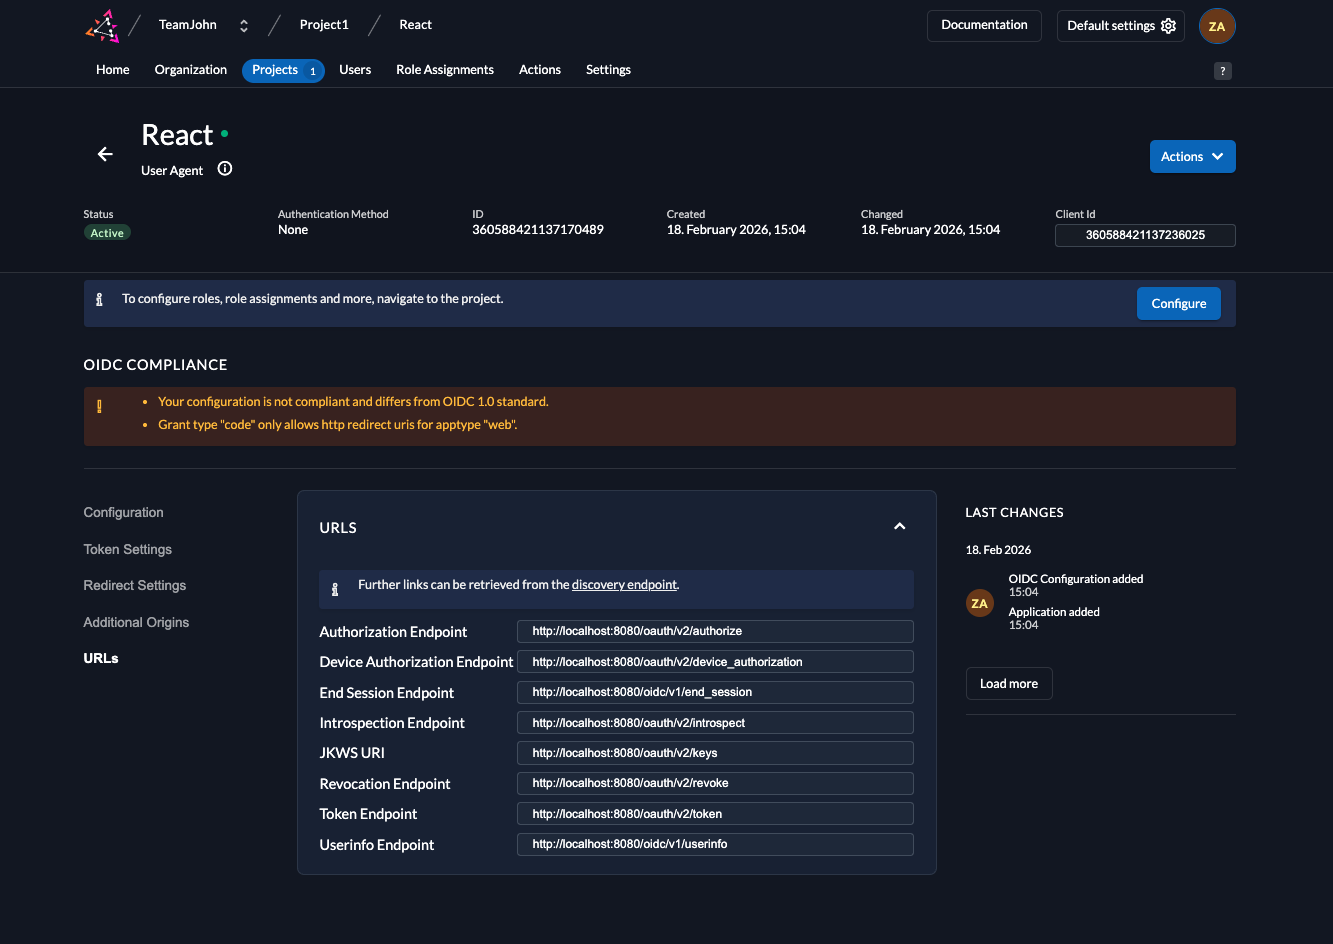
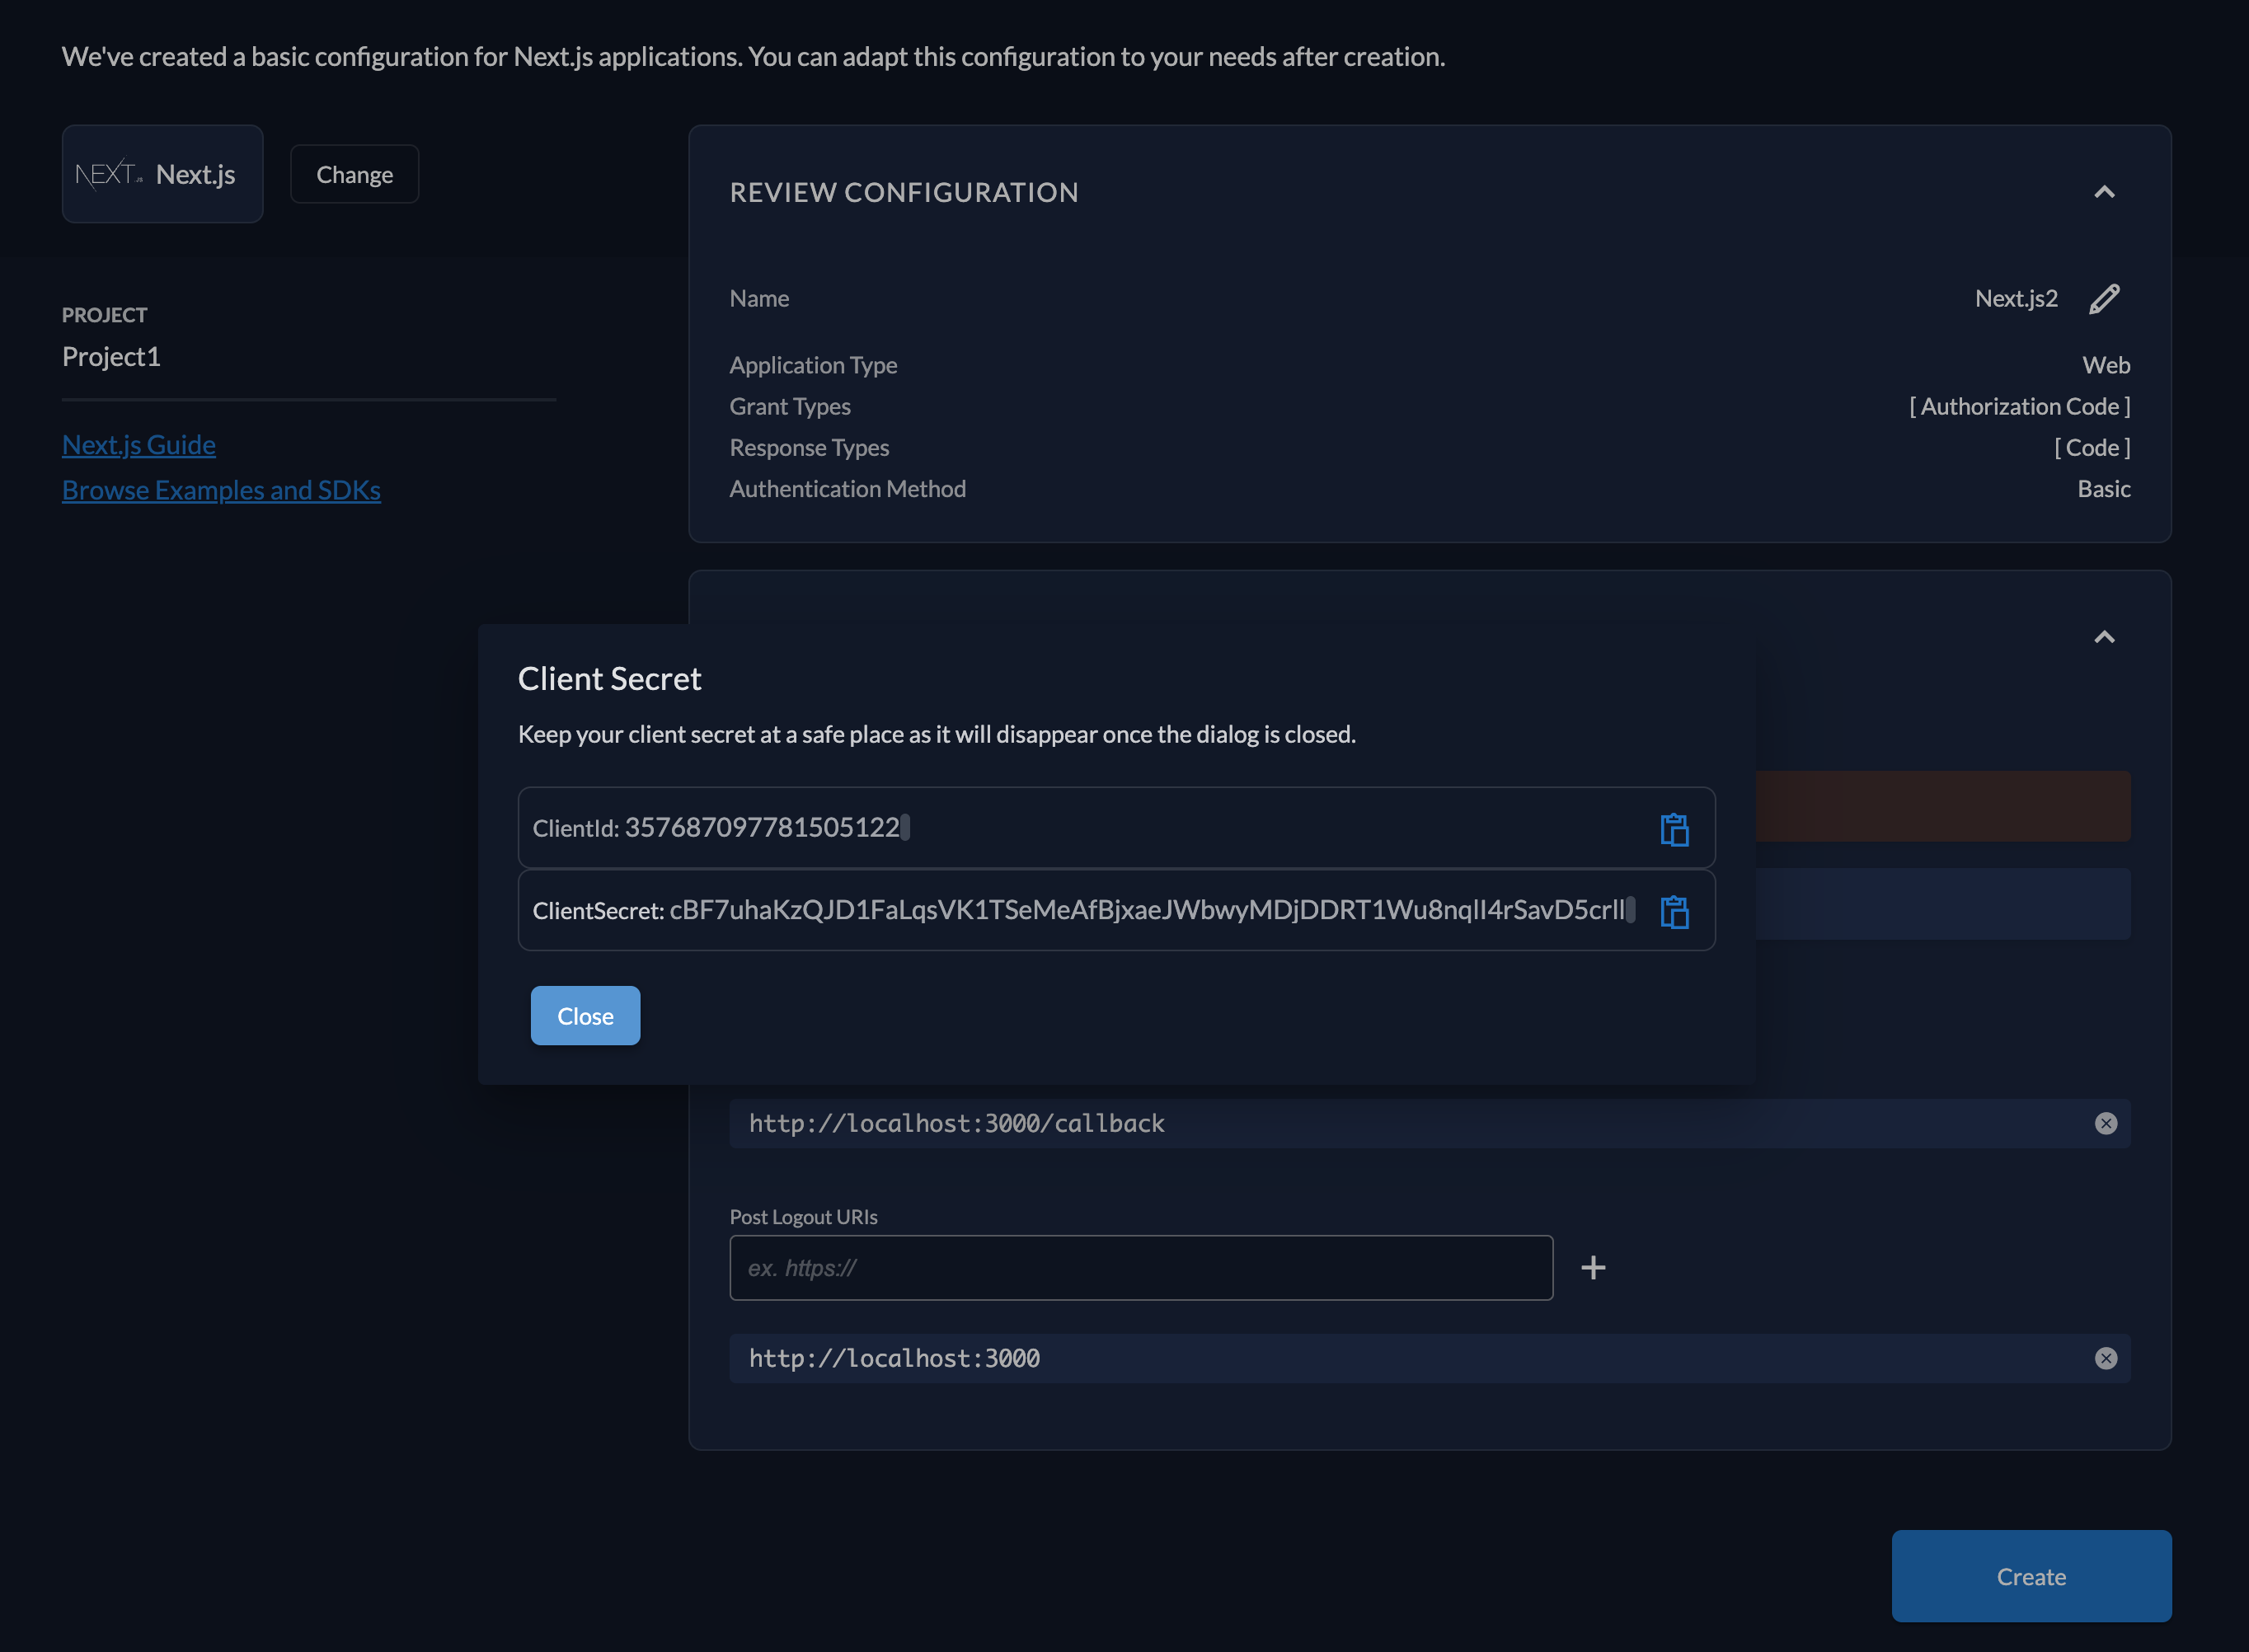
5. Collect your Integration Keys
Integrate ZITADEL into your App
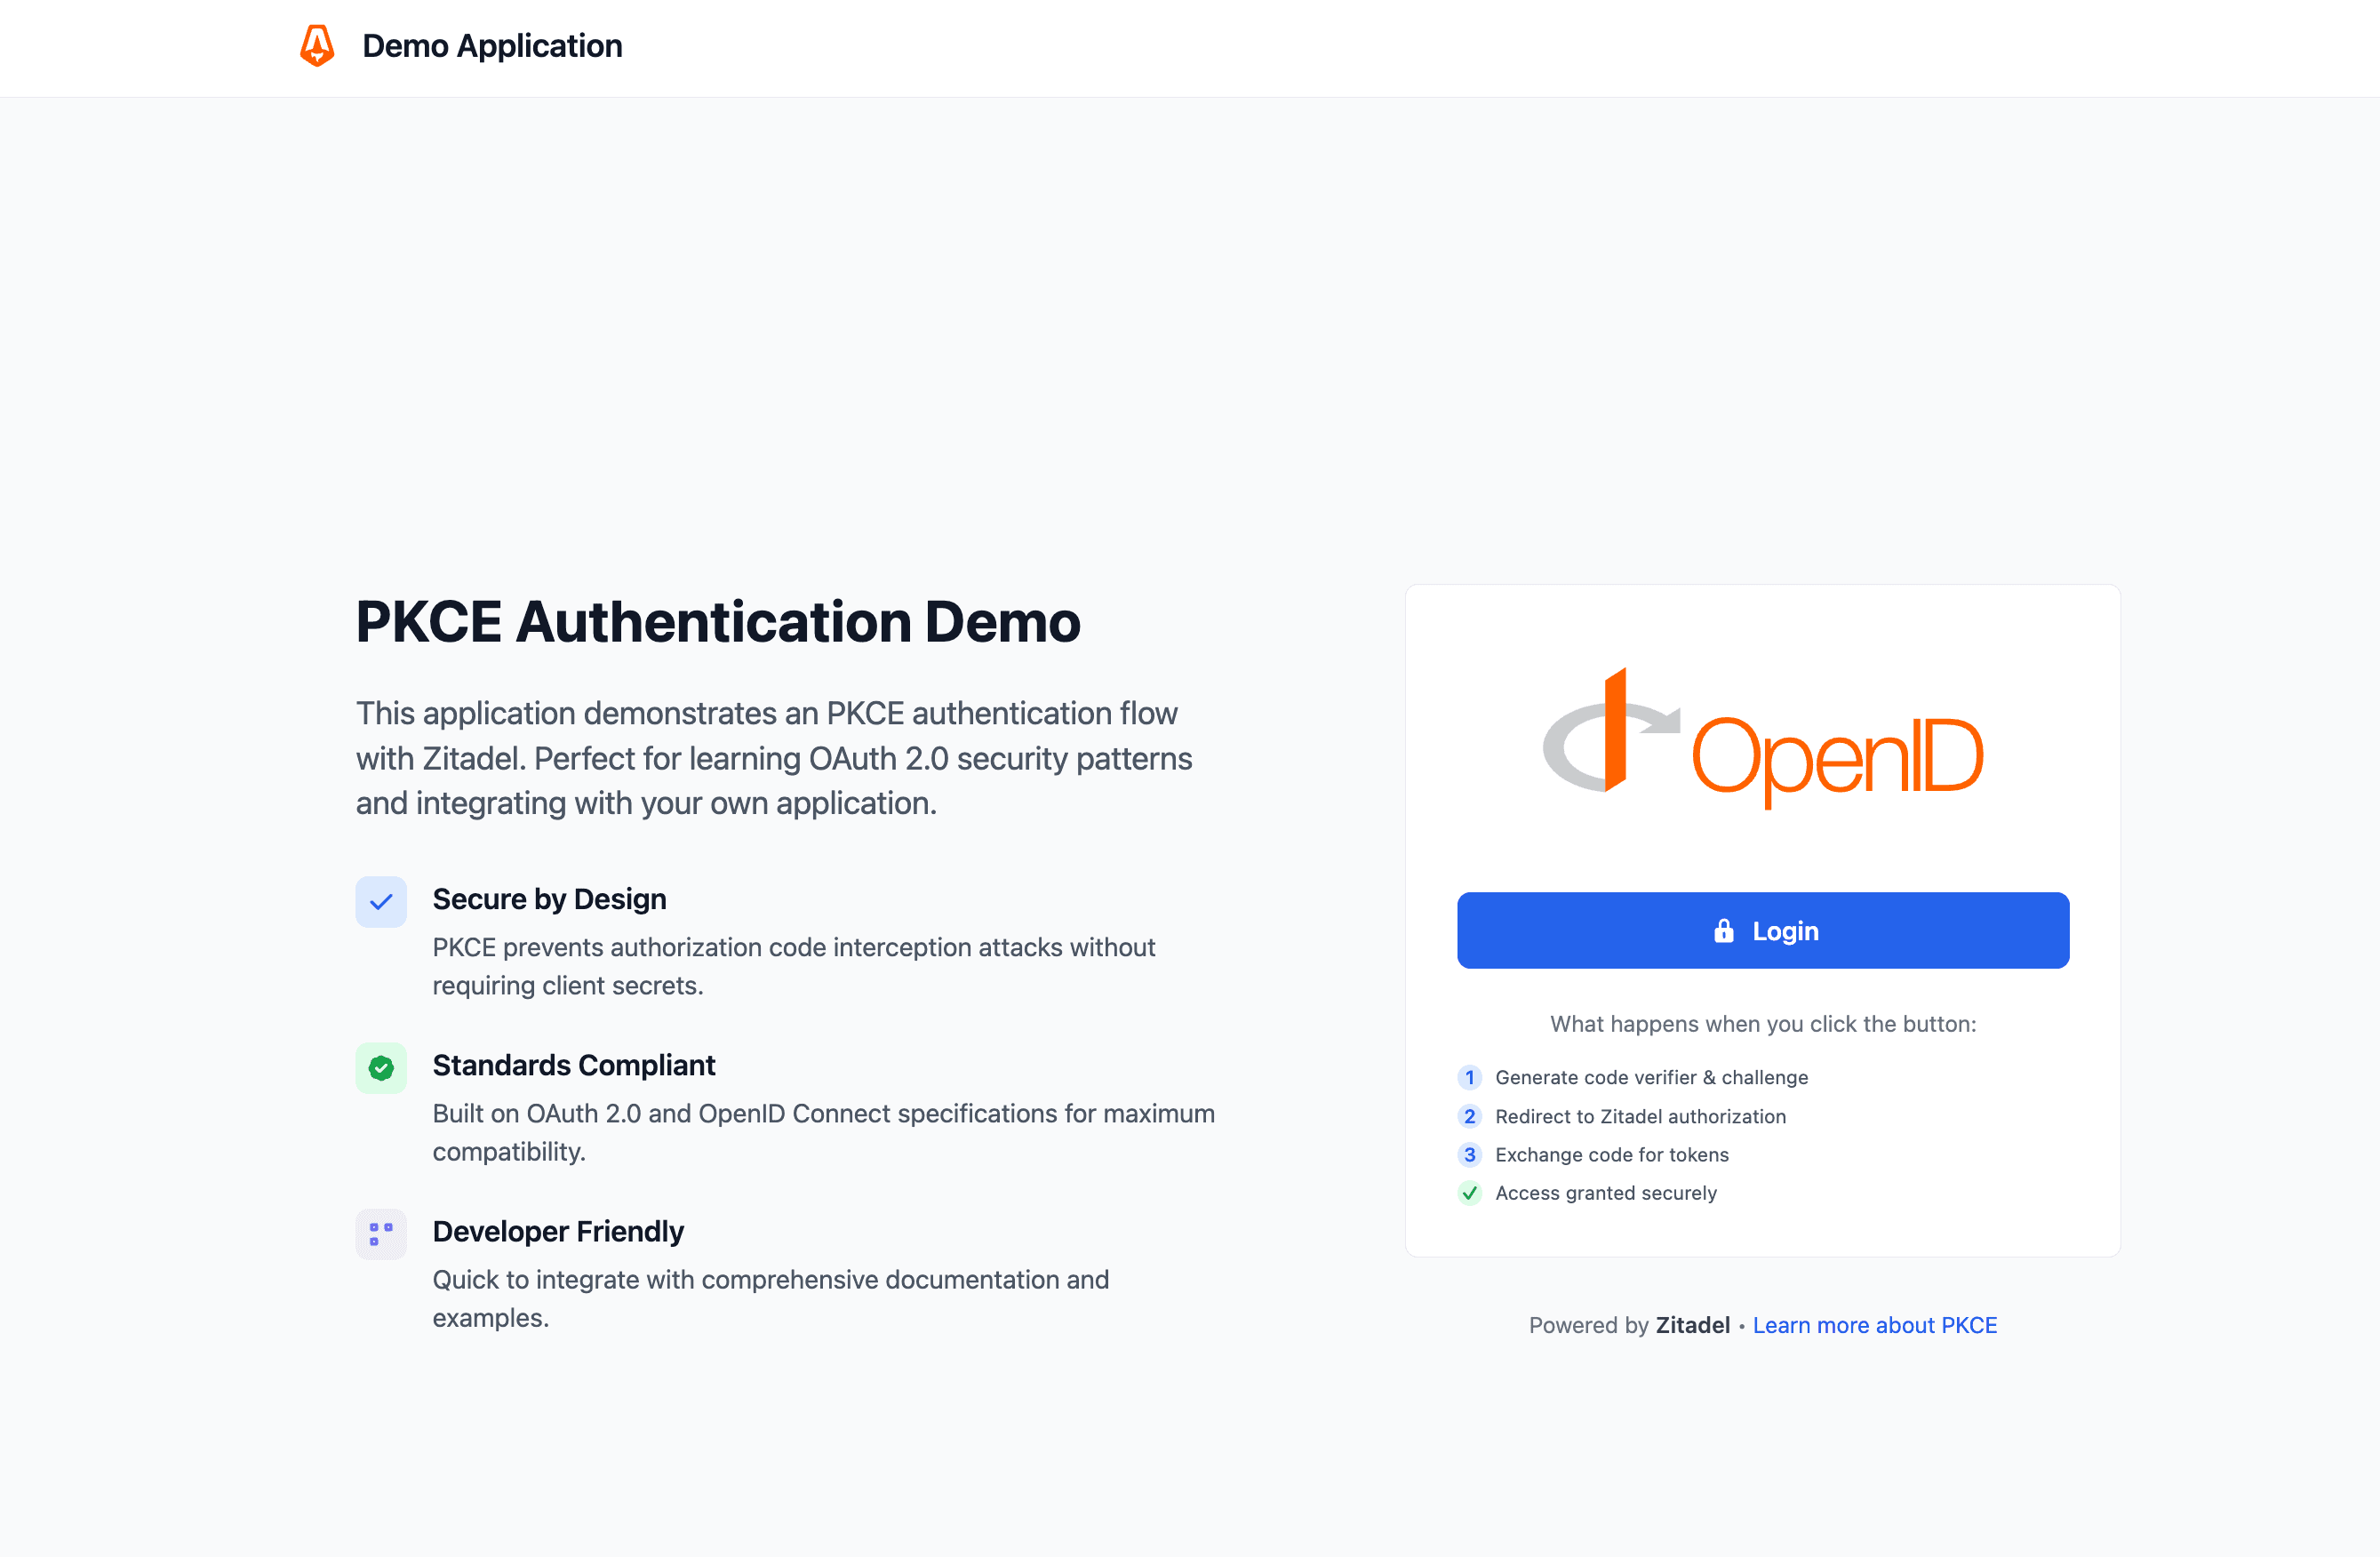
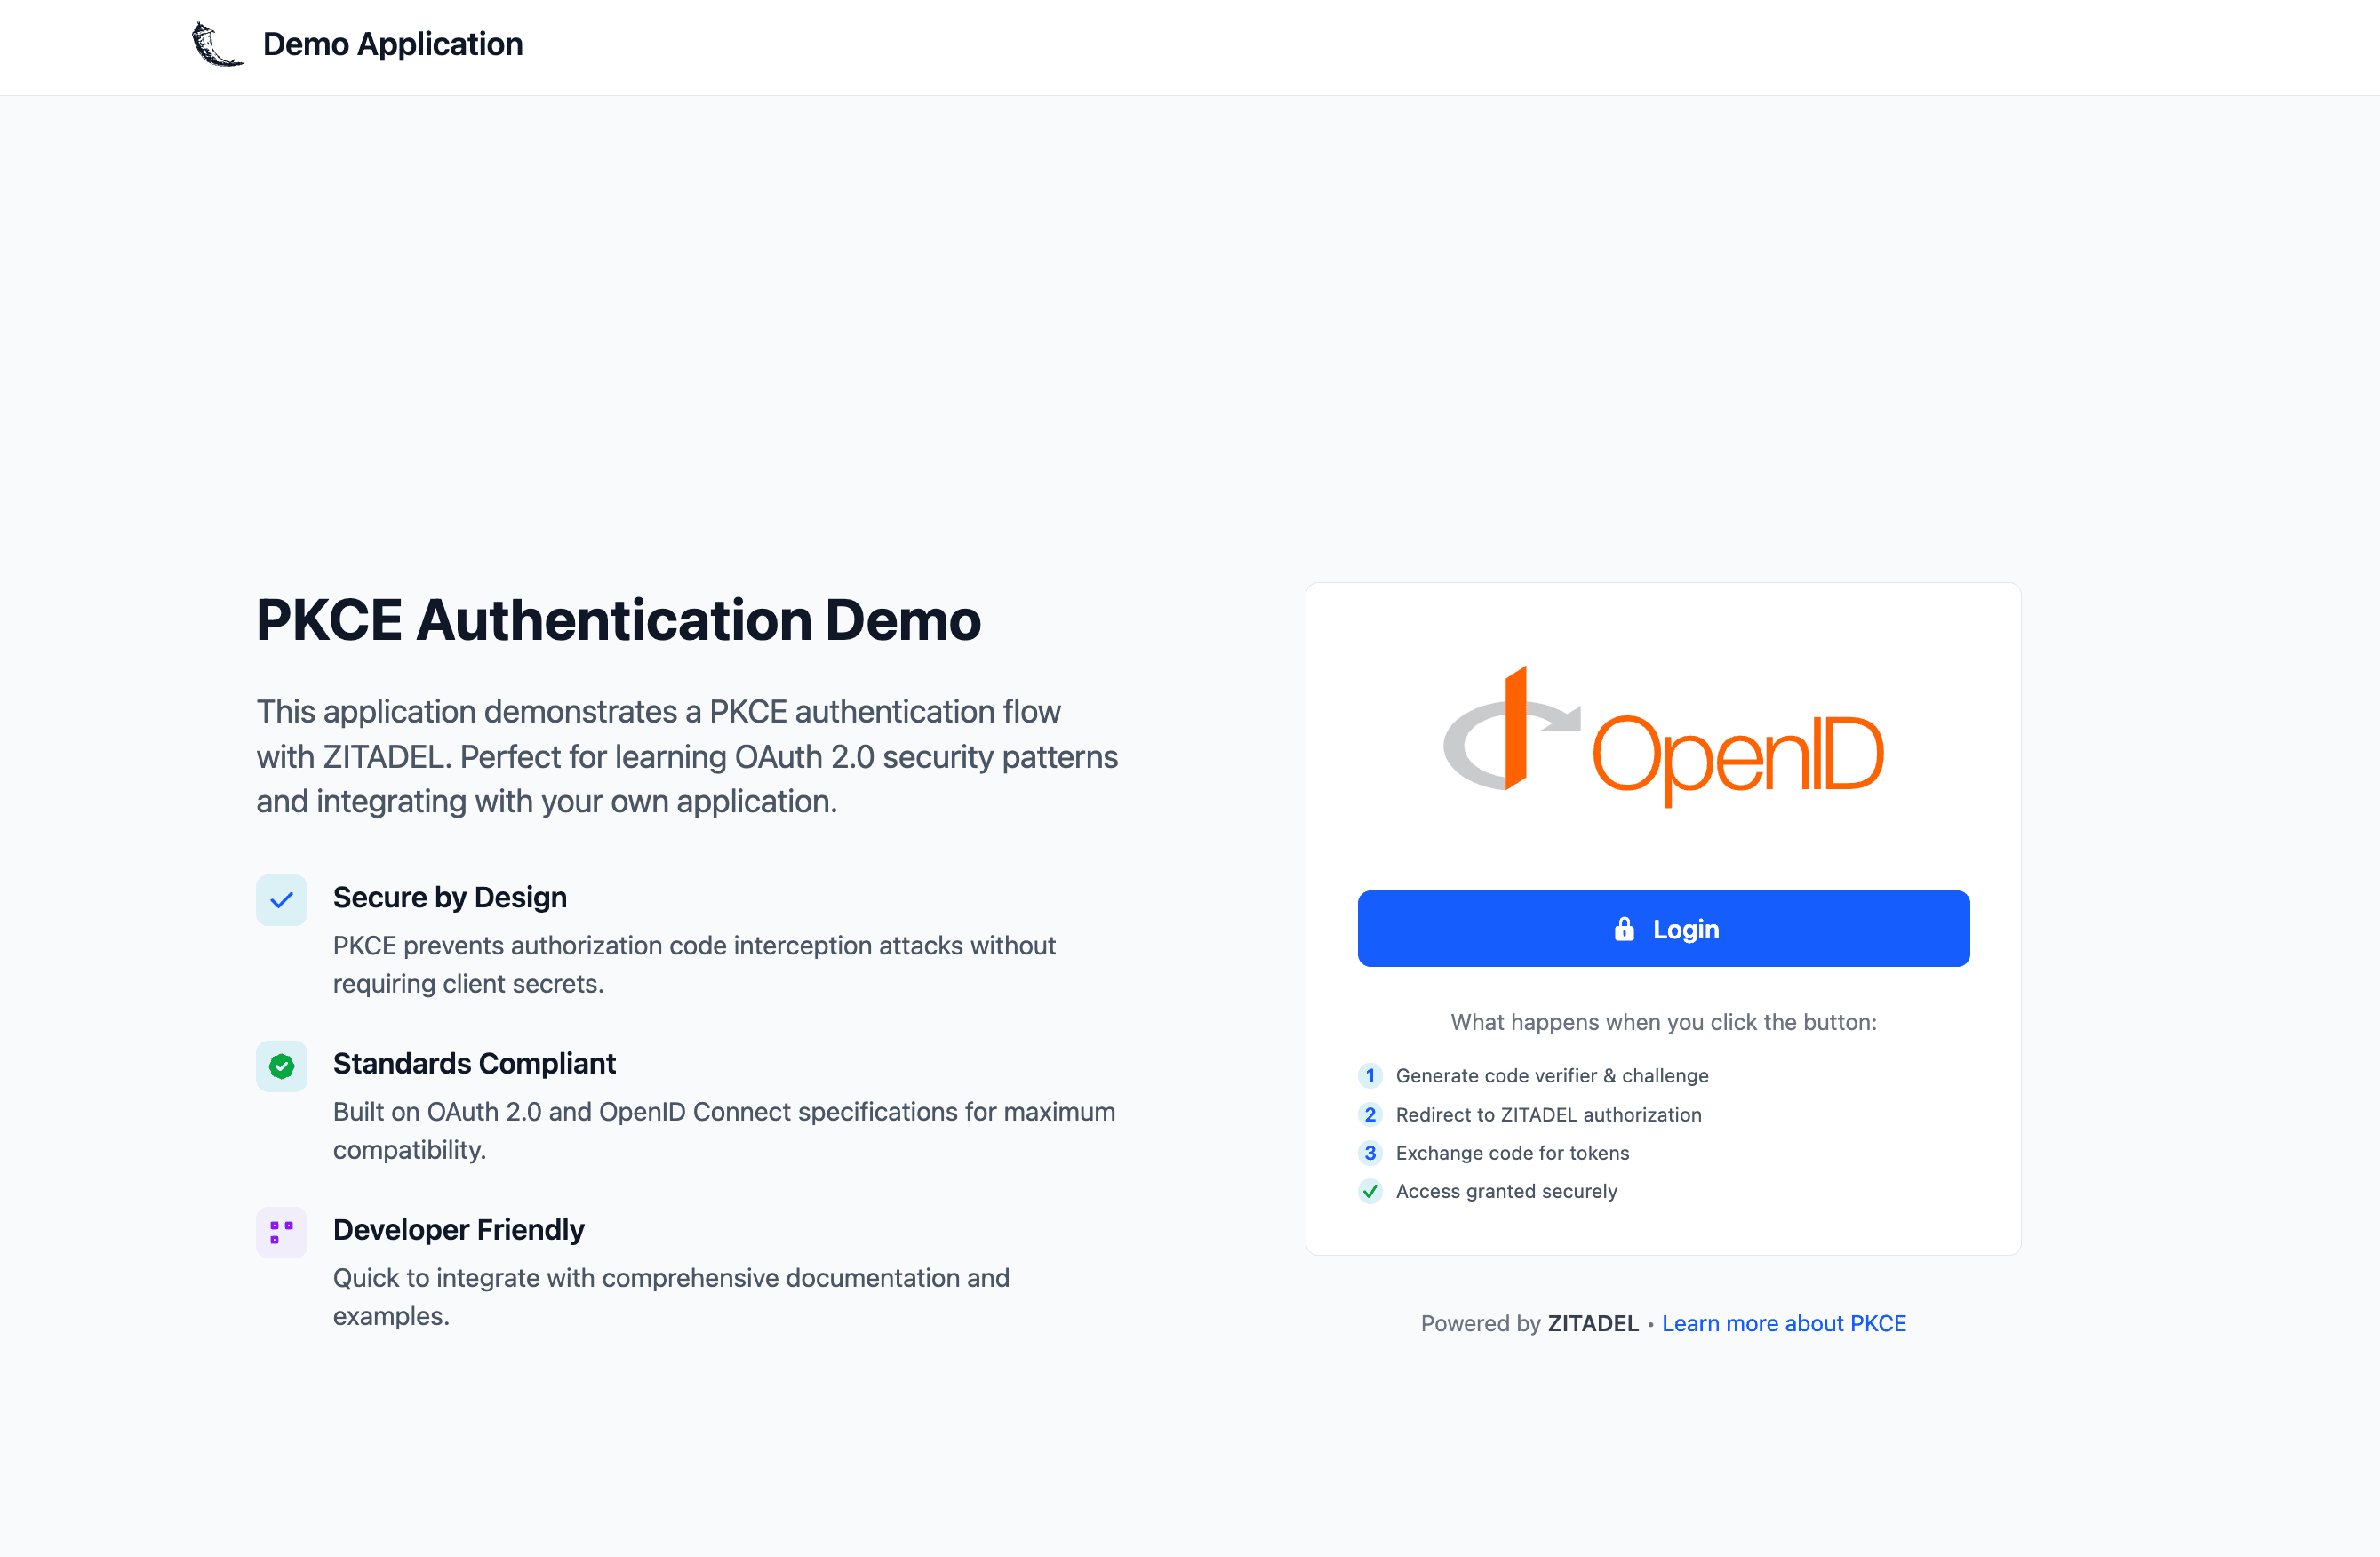
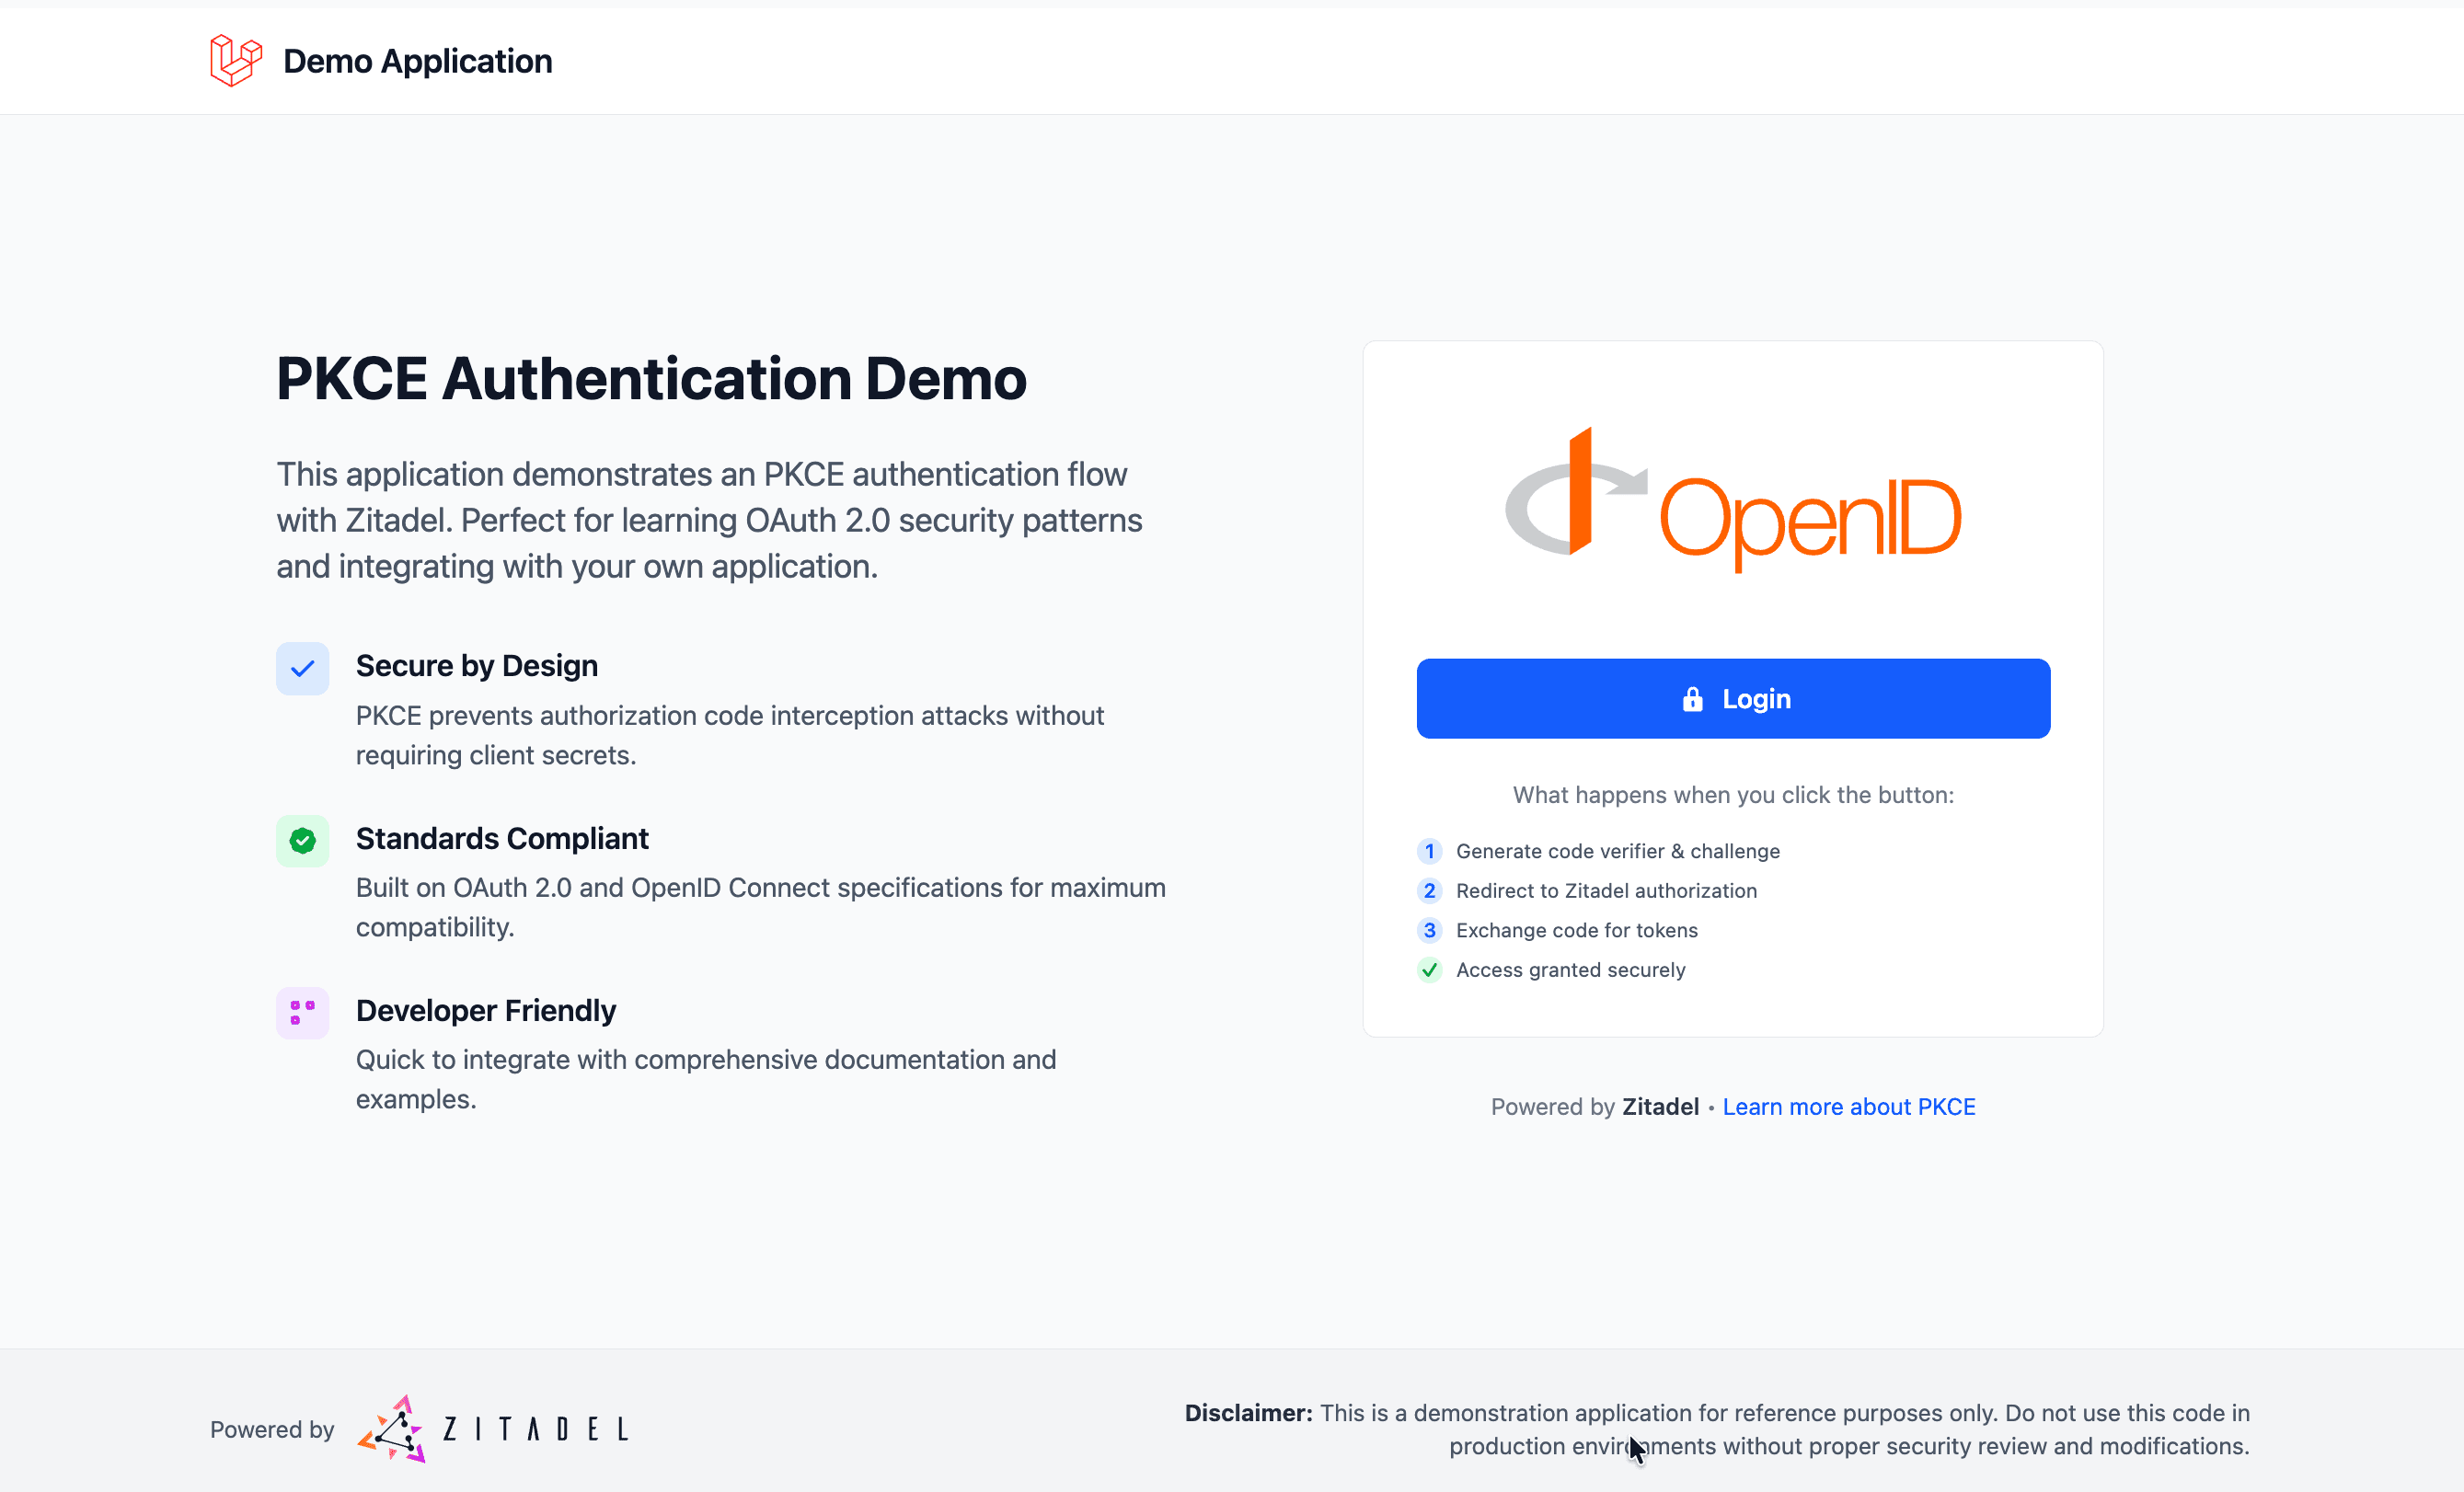
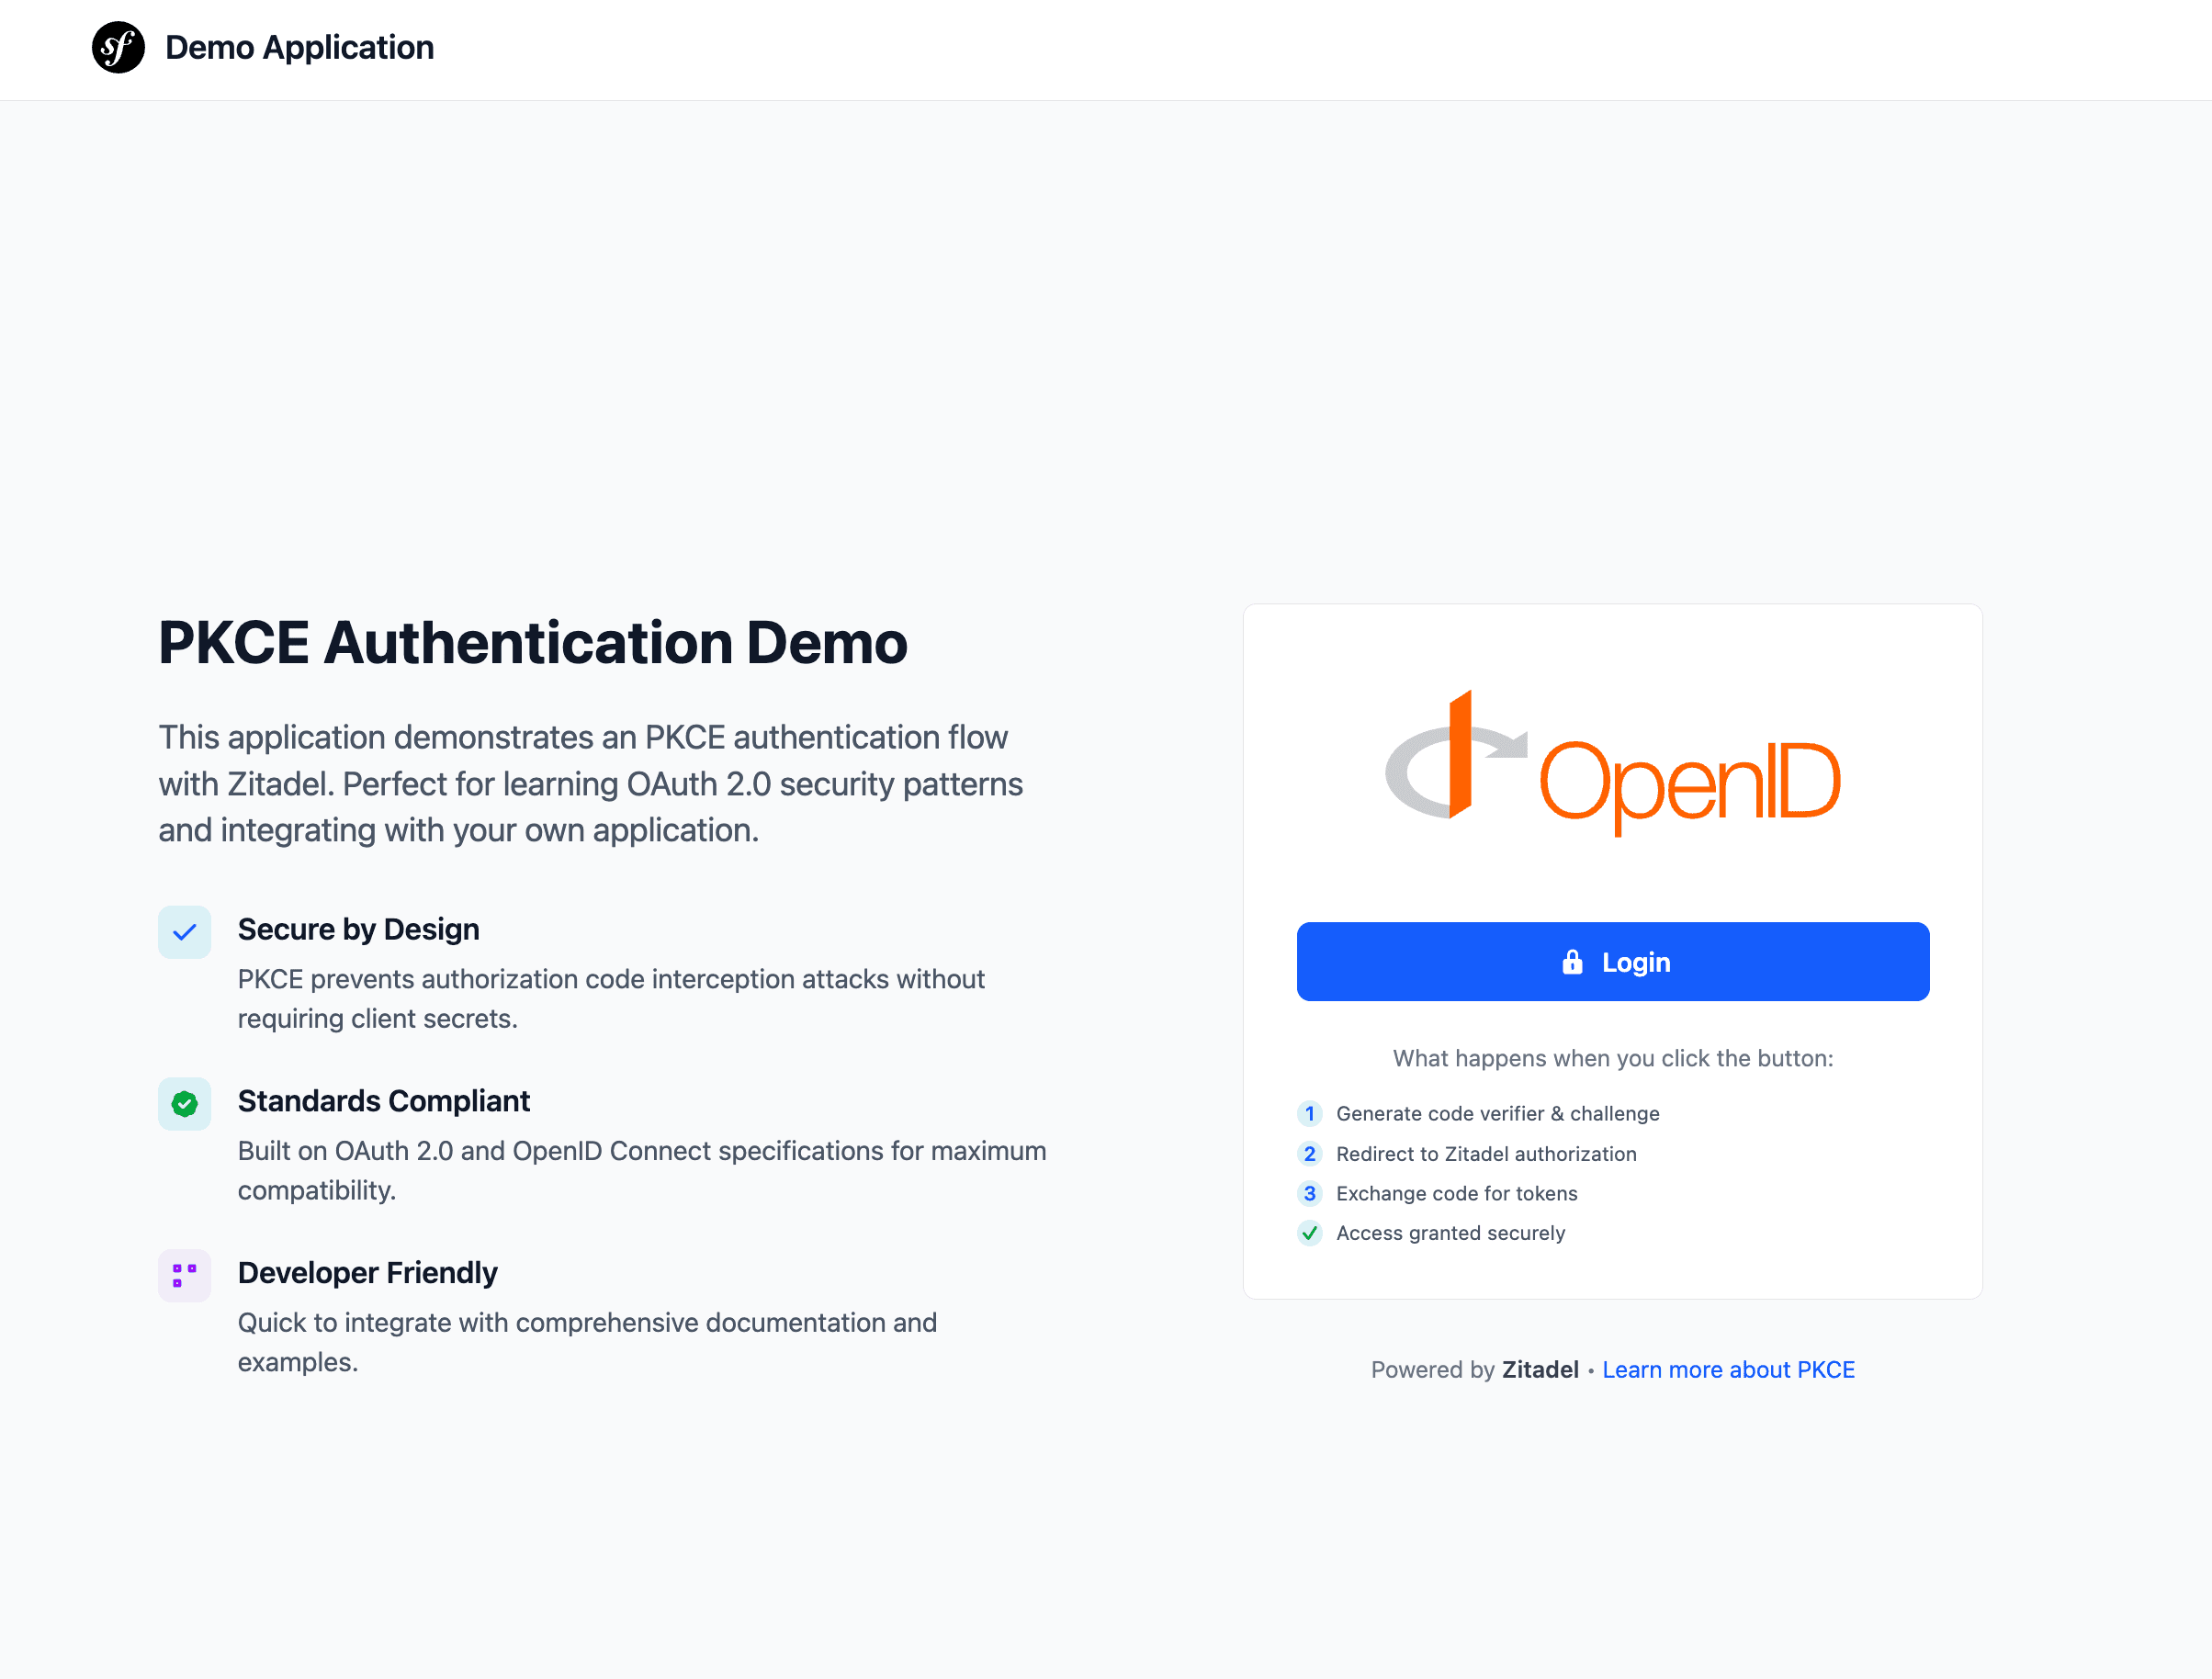
How the Authentication Flow Works
ZITADEL handles the complexity of the OIDC handshake so your app stays secure without manual token management.
- Login: App redirects the user to ZITADEL with a PKCE challenge.
- Auth: User authenticates on the ZITADEL hosted login page.
- Exchange: ZITADEL returns an Auth Code, which the app exchanges for an Access Token.
- Tokens: The app shows the Access and ID Token
- Logout: The app clears local tokens and terminates the ZITADEL session.
1. Prerequisites
2. Get the Example Project
3. Configure your Credentials
4. Build and Run
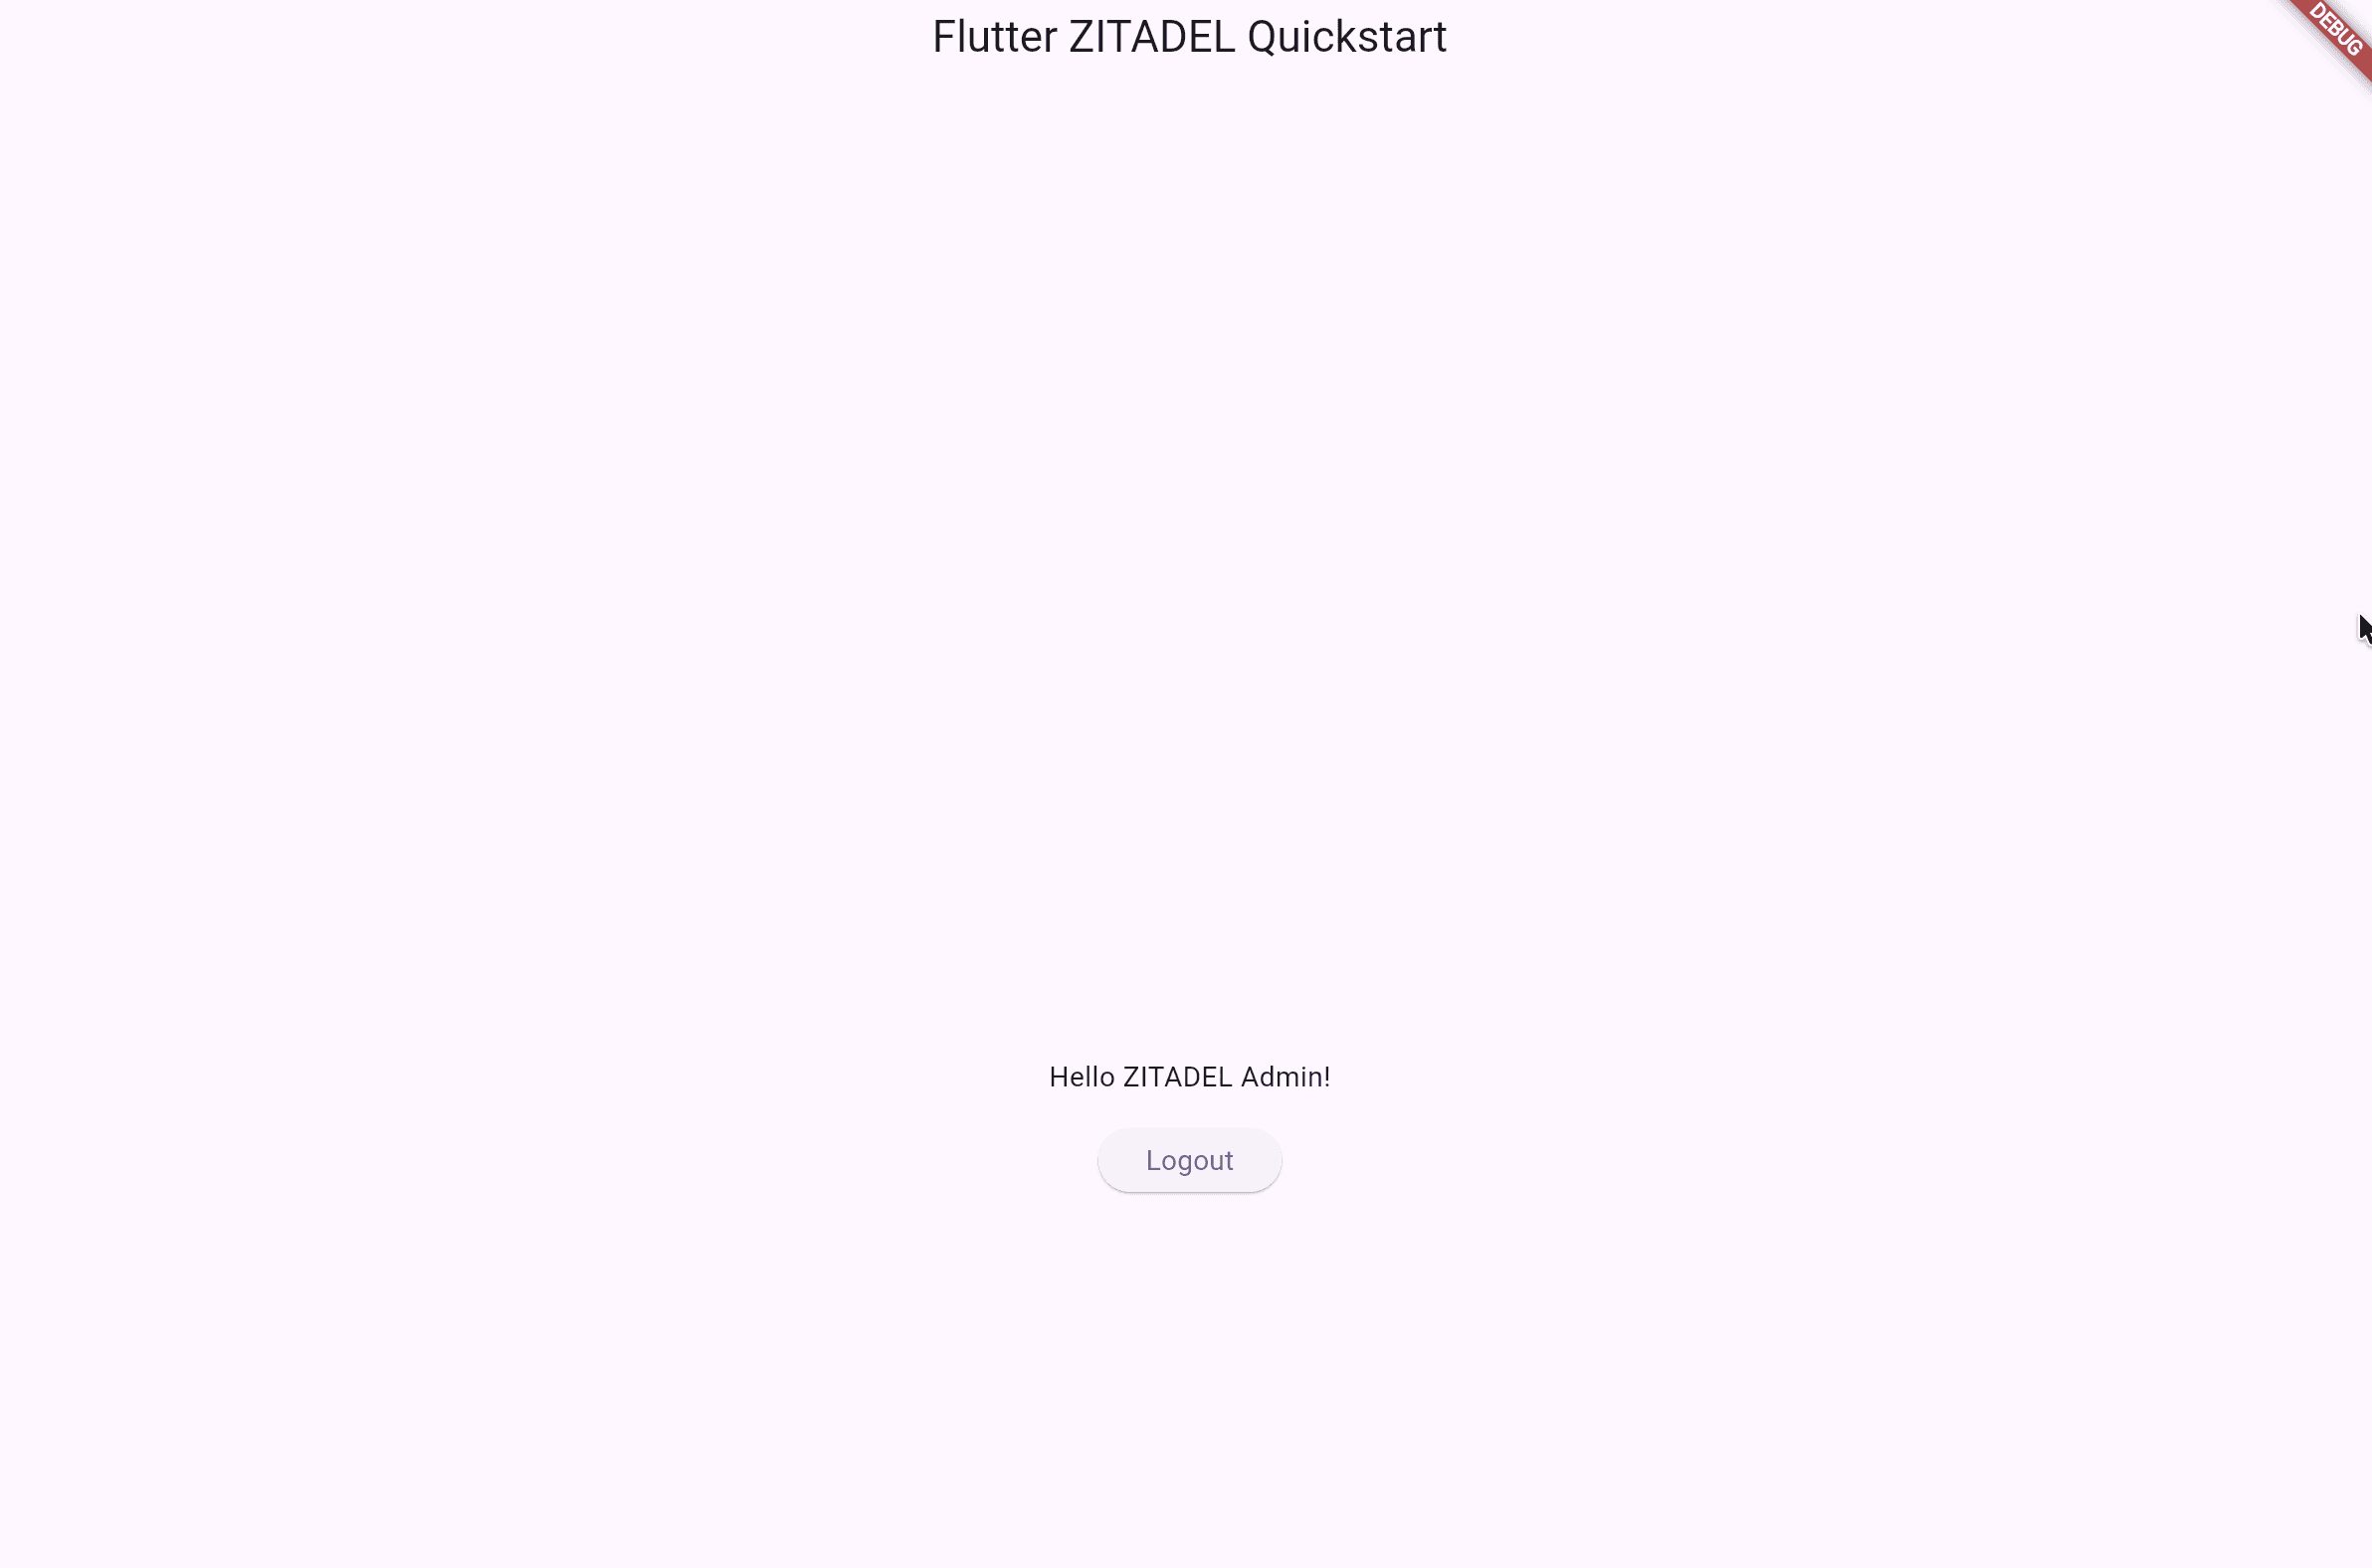
Success! 🚀
You’ve successfully integrated ZITADEL into an application.
Prevent Settings Misconfiguration Lockouts
- Generate a backup PAT: Create a Service Account Personal Access Token with the
IAM_OWNERrole to revert any login UI misconfigurations using the API. - Add a second Instance Administrator: Always designate at least one second instance administrator.
What’s next?
- Example Applications: Find more comprehensive guides and examples for the different frameworks
- SSO: Learn how to add SSO to your services
- Customize the UI: Make the login page your own with Branding.
- Explore the API: Check out the ZITADEL API Reference for advanced integrations.
Need help? Join our Discord community or explore the full Documentation. Happy coding!
Was this page helpful?